Using the tsrct mobile app
tsrct’s mobile app is the unified interaction experience for all human users of tsrct.
The mobile app is the same regardless of the end user type (individual, corporate employee, etc.).
All end users, regardless of use case, must use the same tsrct app. This simplifies various user flows, improves overall security, and makes all capabilities available to all users based on their permissions.
The mobile app can be downloaded from the Apple App Store for iOS or the Google Play Store for Android.
Launching the app
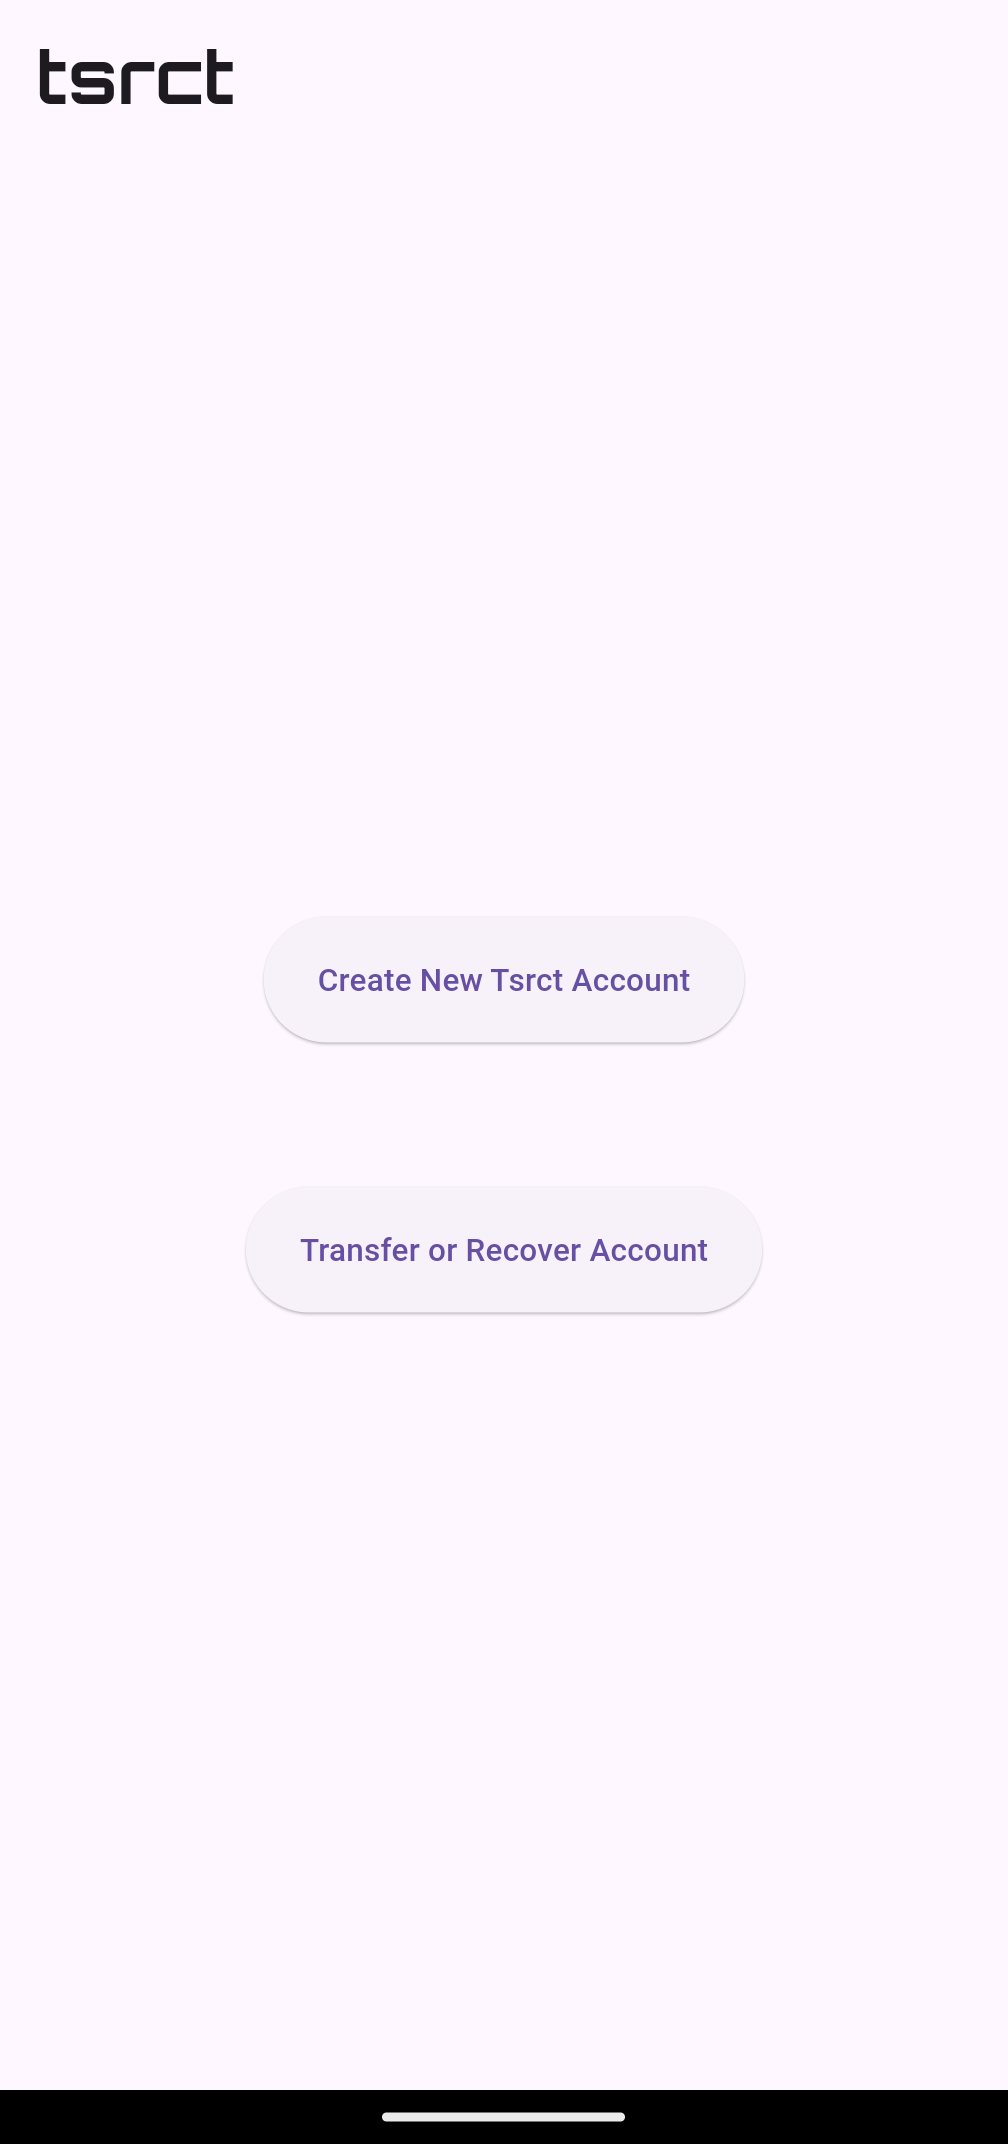
When you launch the app, you’ll see an initial screen that looks like this. Select ‘Create new Tsrct Account’
Creating a tsrct id
A tsrct id is 25 digit identifier selected by the person that is globally unique.
The tsrct id follows the following rules:
- the id cannot begin with
0or1 - the last digit of the id is a checksum and cannot be selected by the
usr; it is based on the other 24 digits of the tsrct id
Tips on choosing a good tsrct id:
- make it easy to remember; sometimes users use repeating patterns
- the tsrct id is designed for sharing, so don’t include sensitive information like your birthdate or address
- there are some special cases where the last checksum digit falls in with the overall pattern. You can find them if you try!
- for instance, the tsrct id of the company’s founder is
9000990009900099000990009which can be written in the 5x5 grid as (its one of the special ones where the checksum lines up!):9 0 0 0 9 9 0 0 0 9 9 0 0 0 9 9 0 0 0 9 9 0 0 0 9
When you initially launch the app, you’re shown a set of introduction pages:
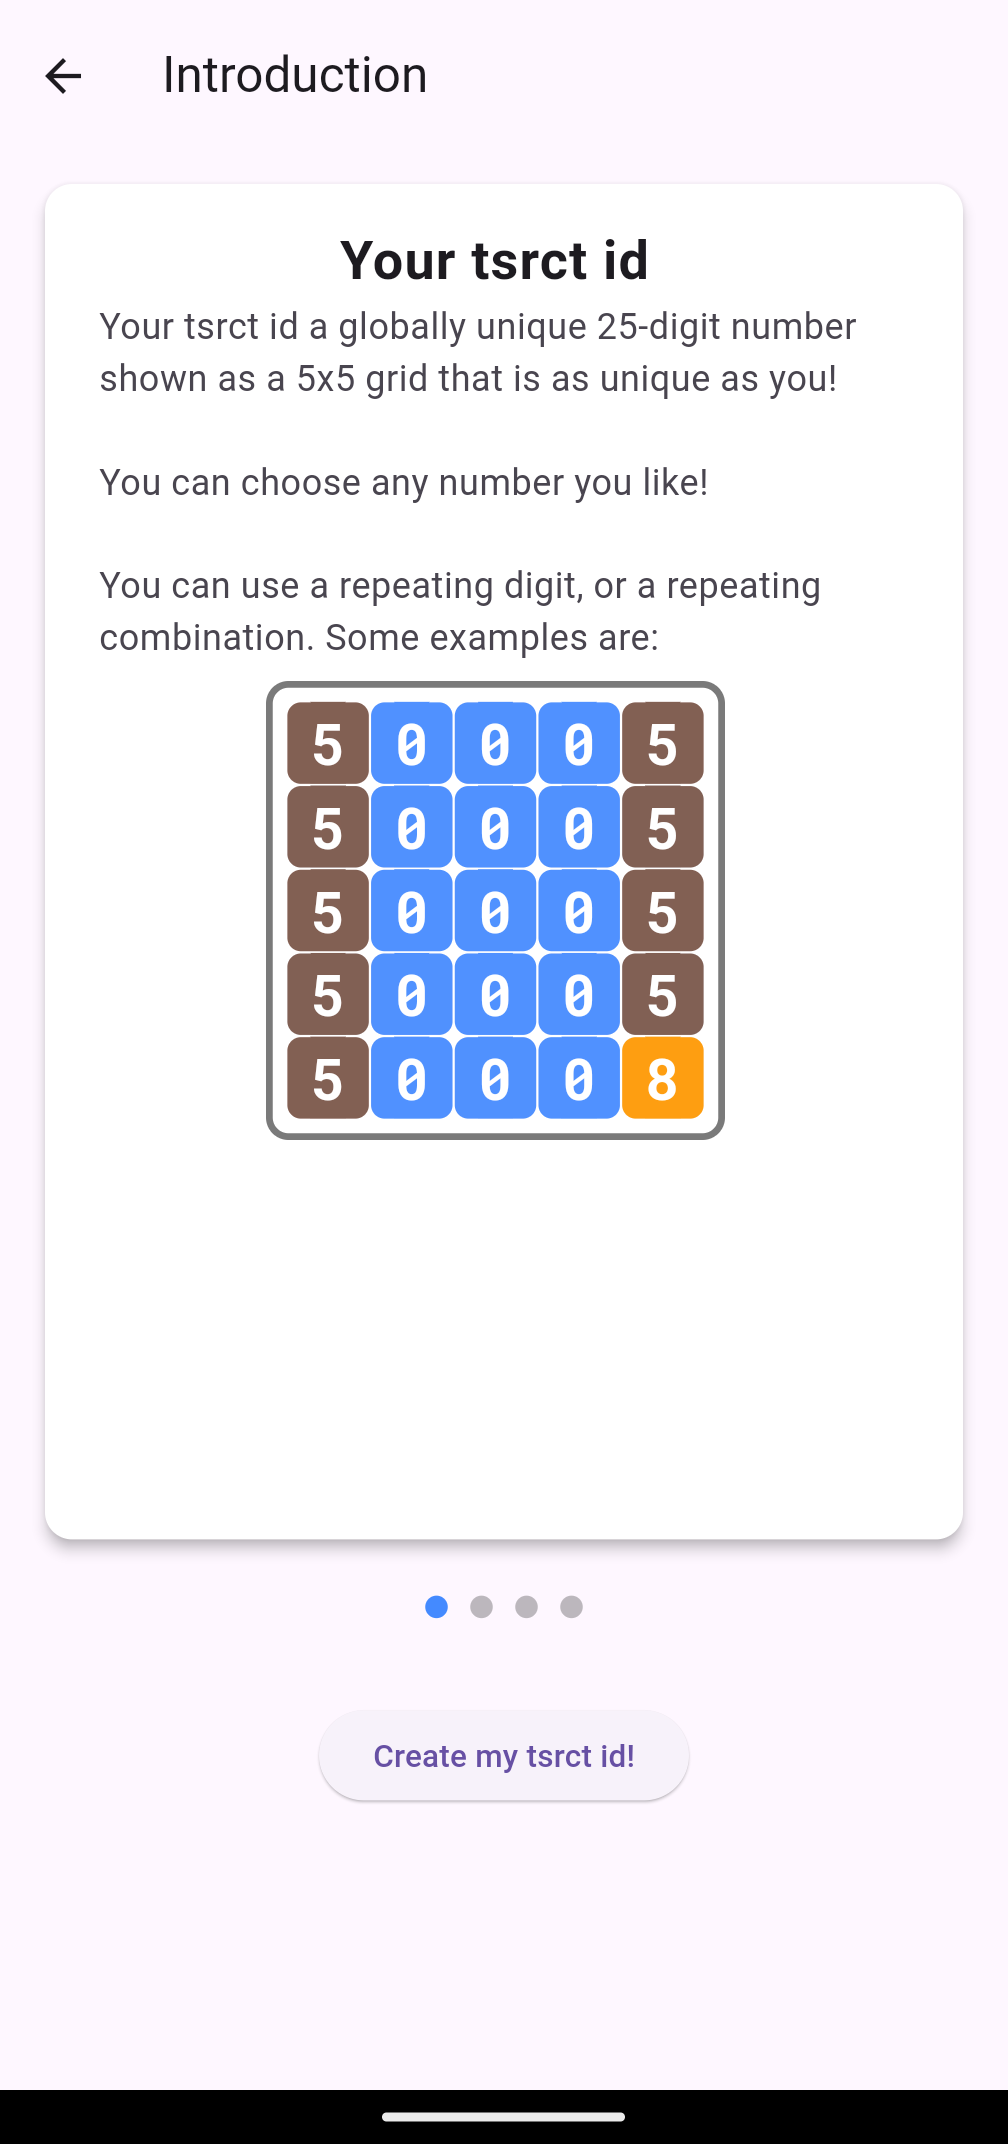
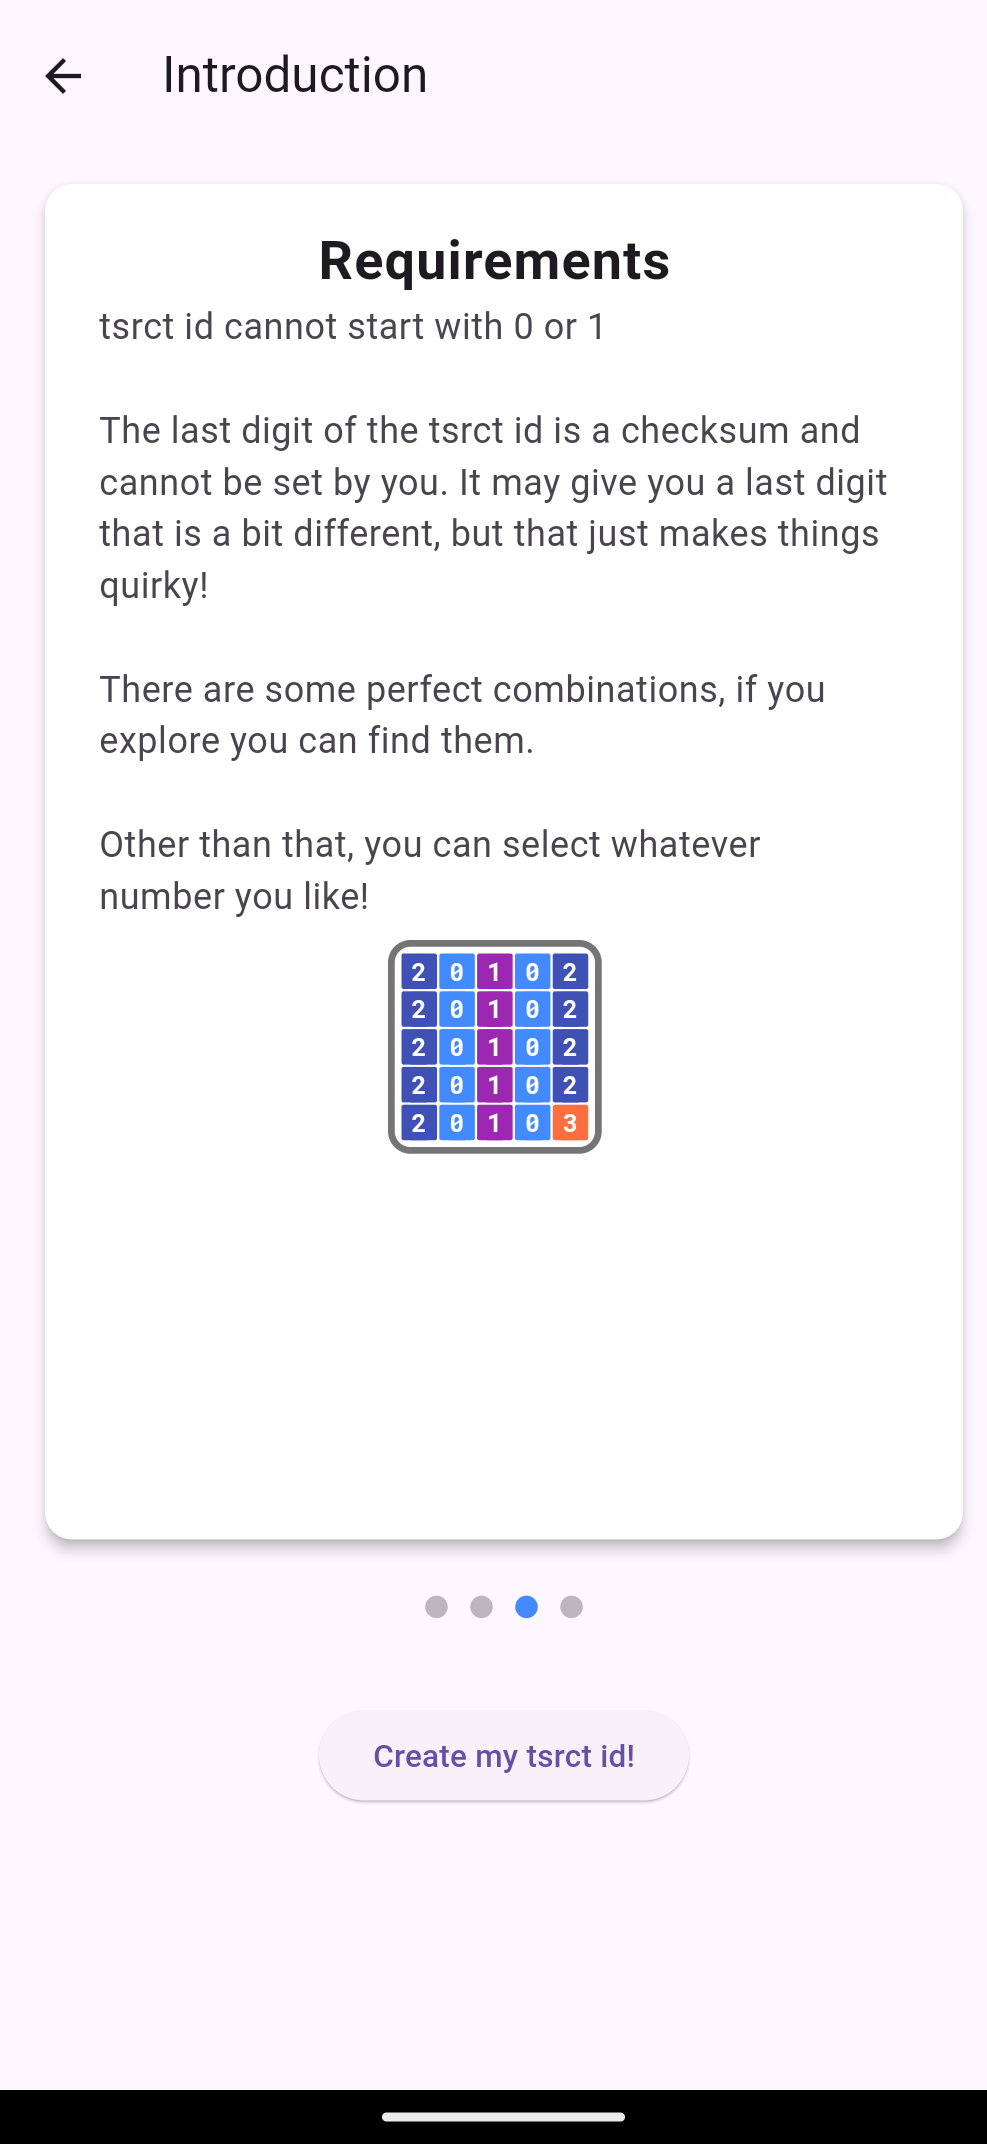
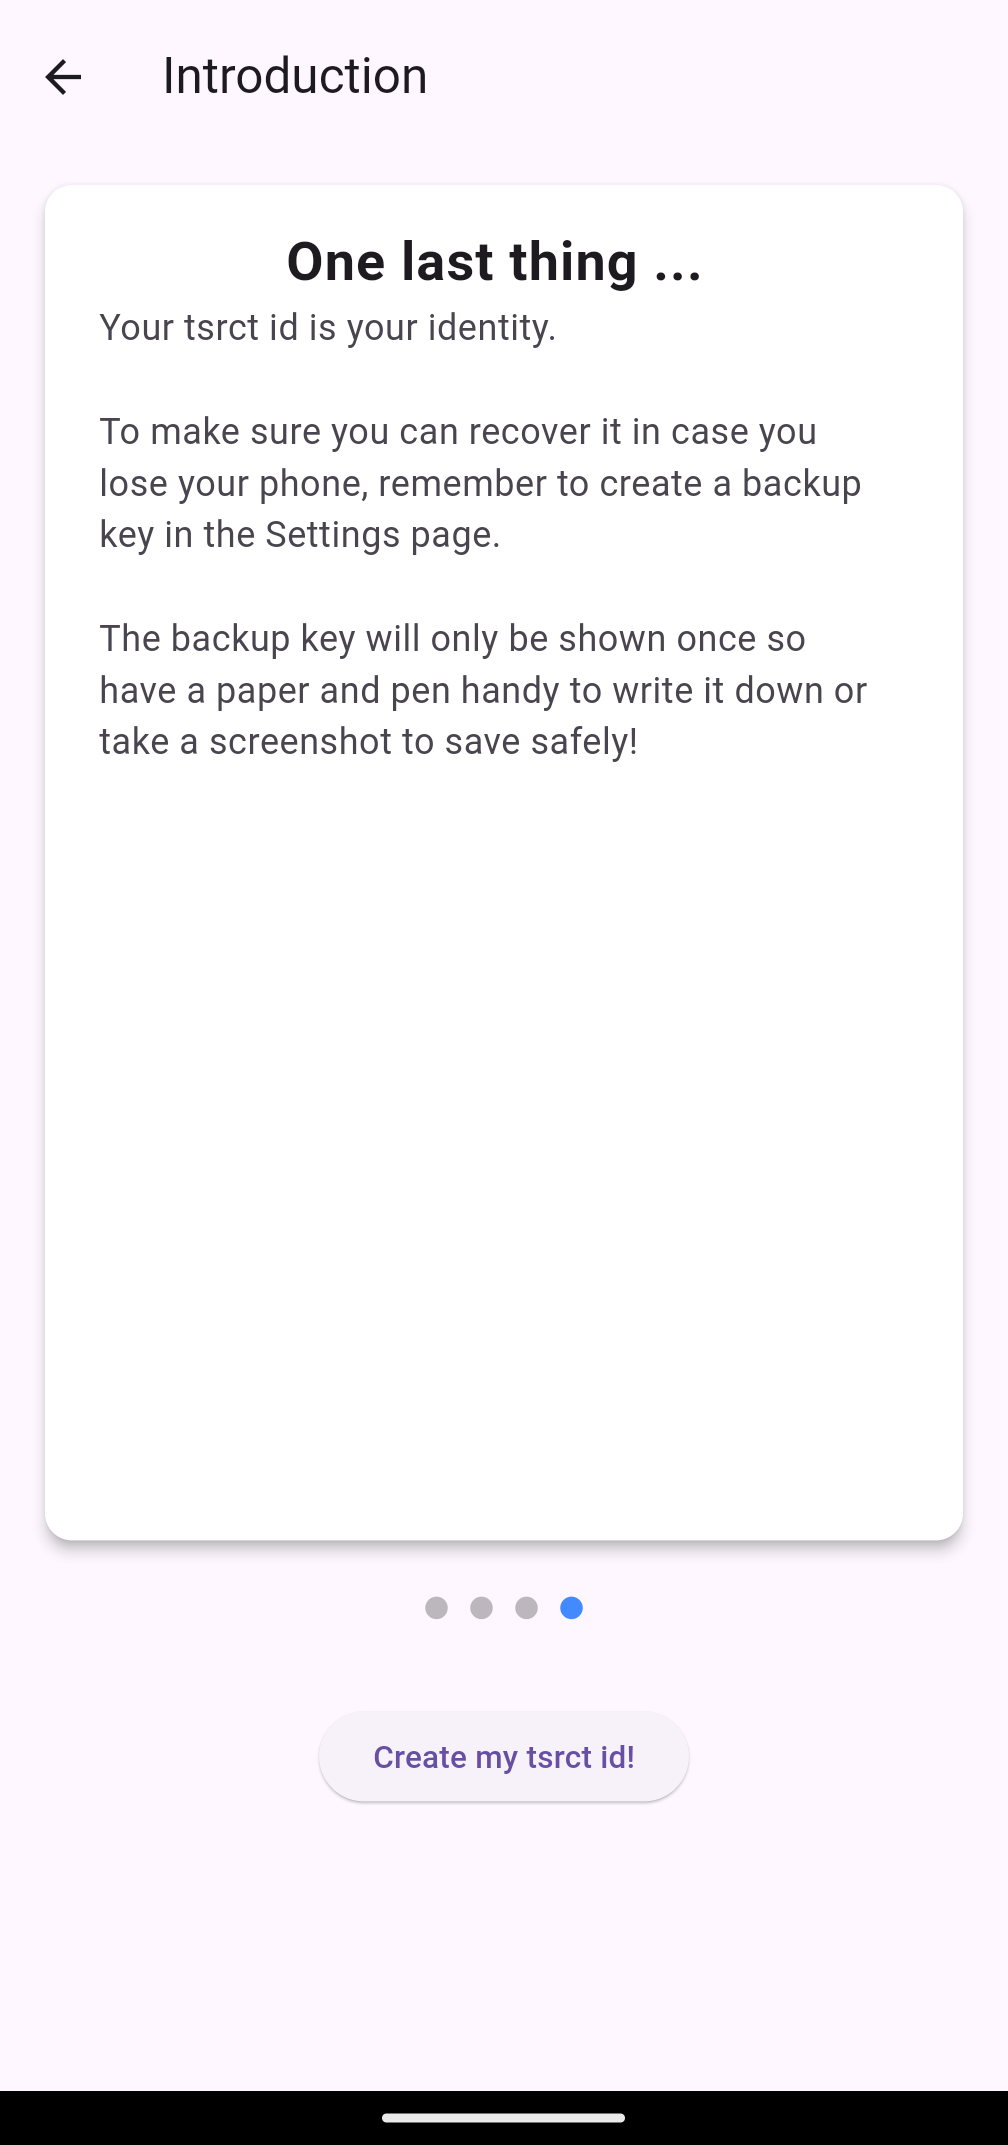
and can create your tsrct id by selecting the ‘create tsrct id’ button:
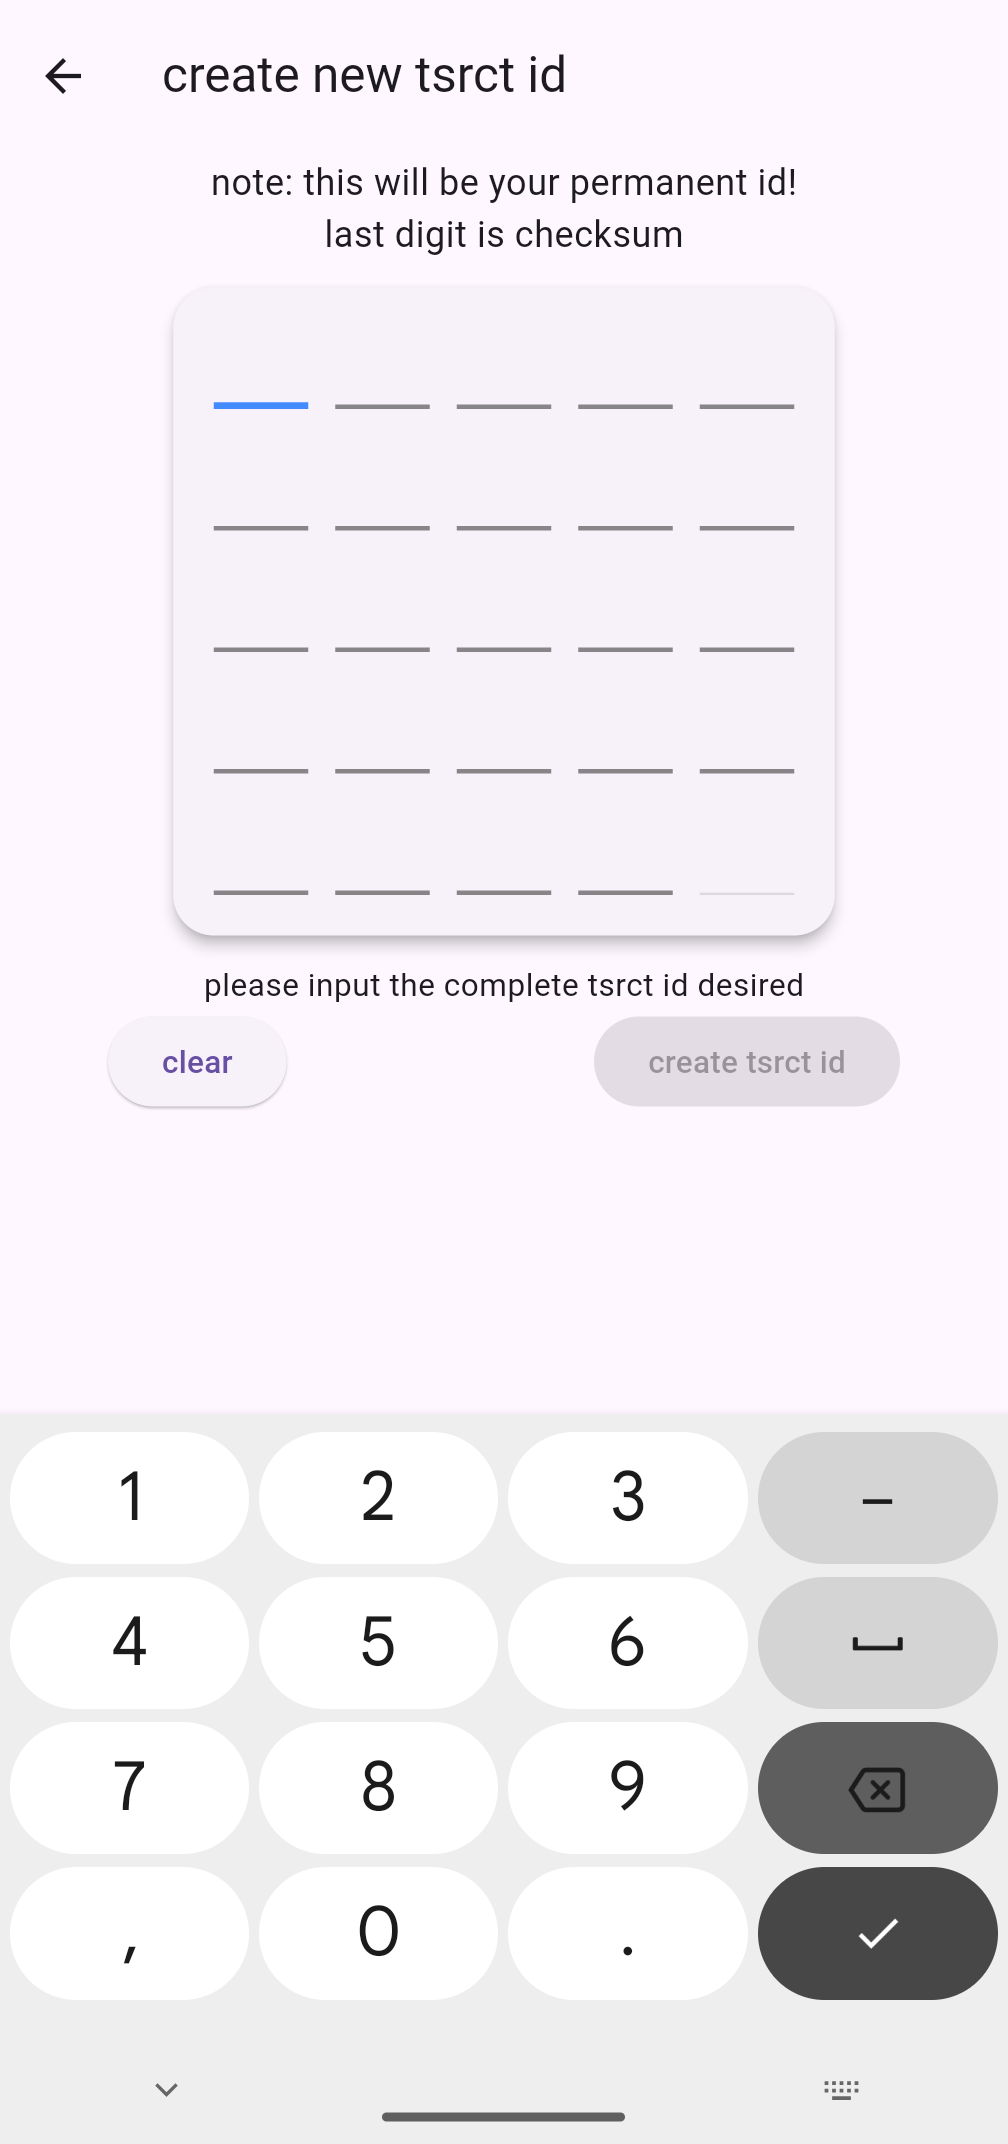
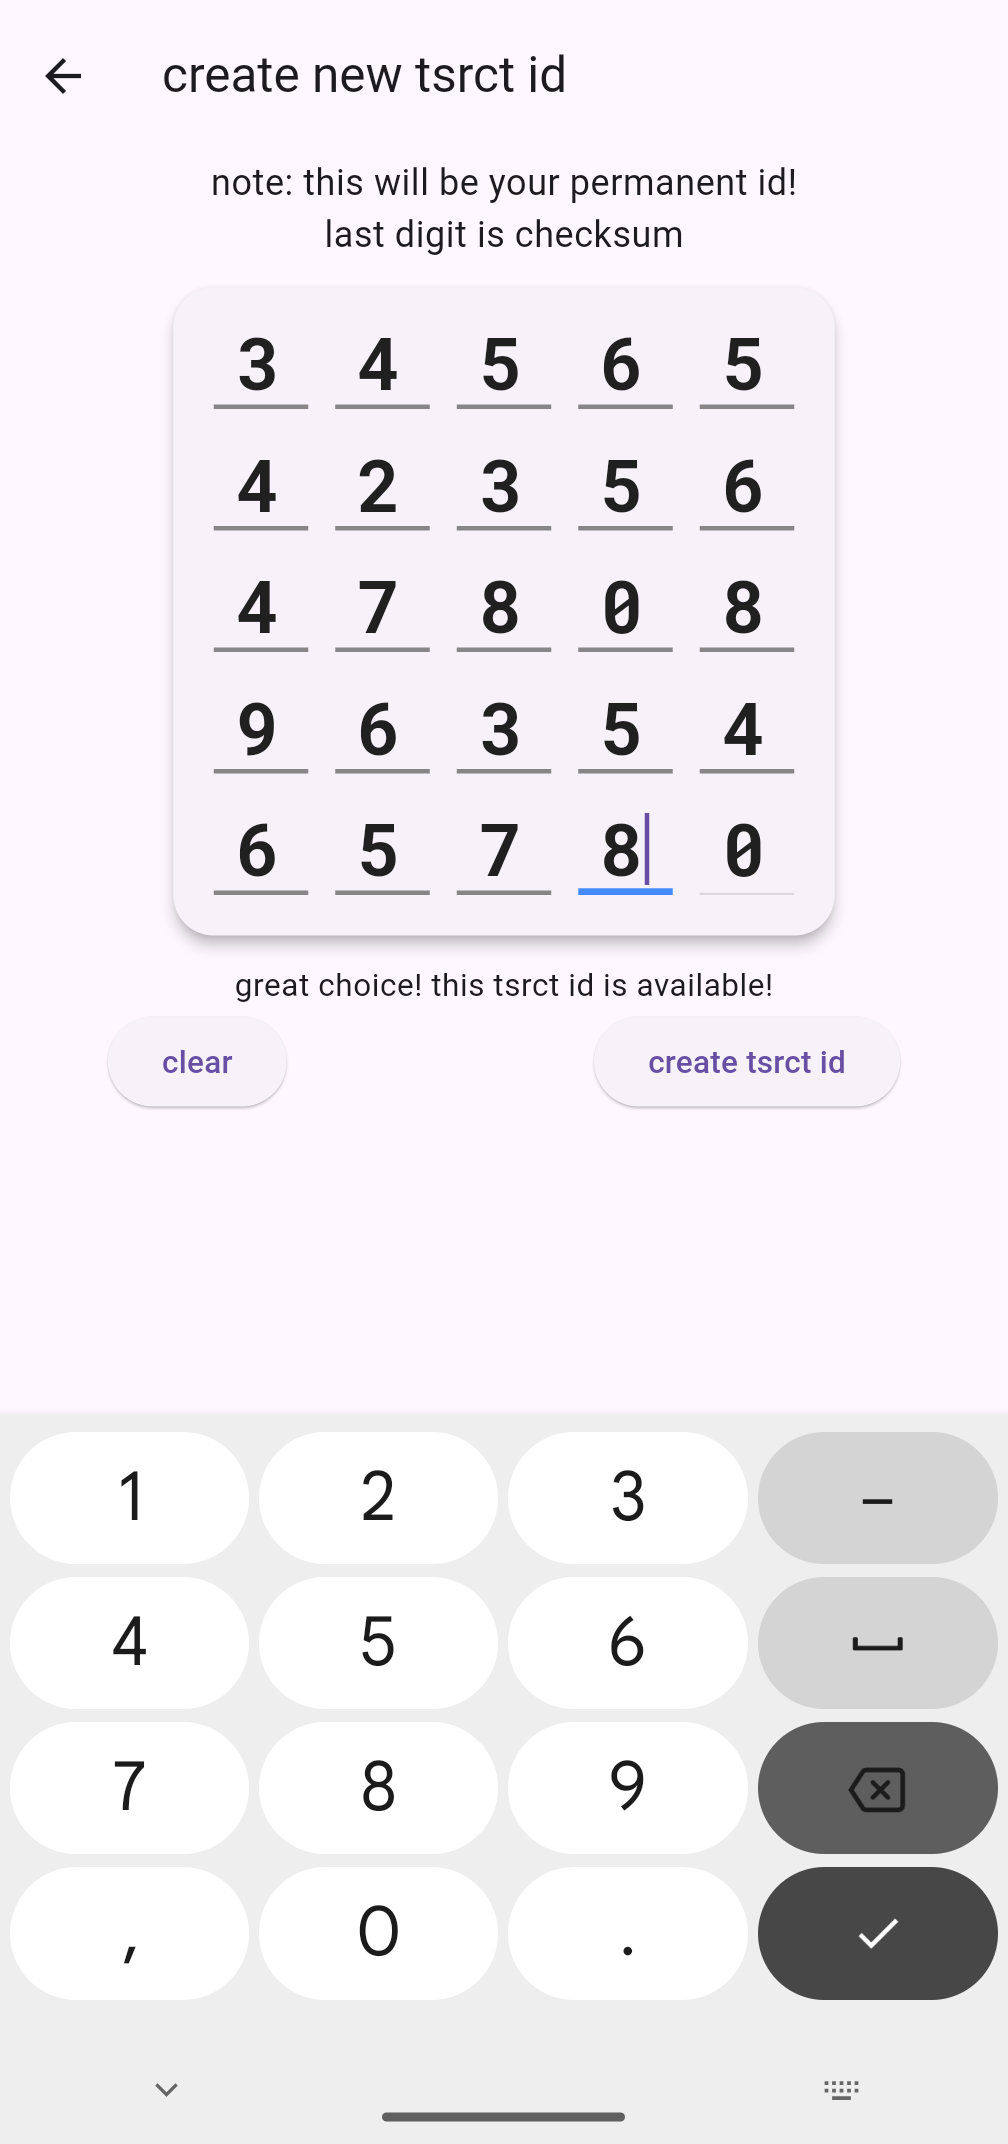
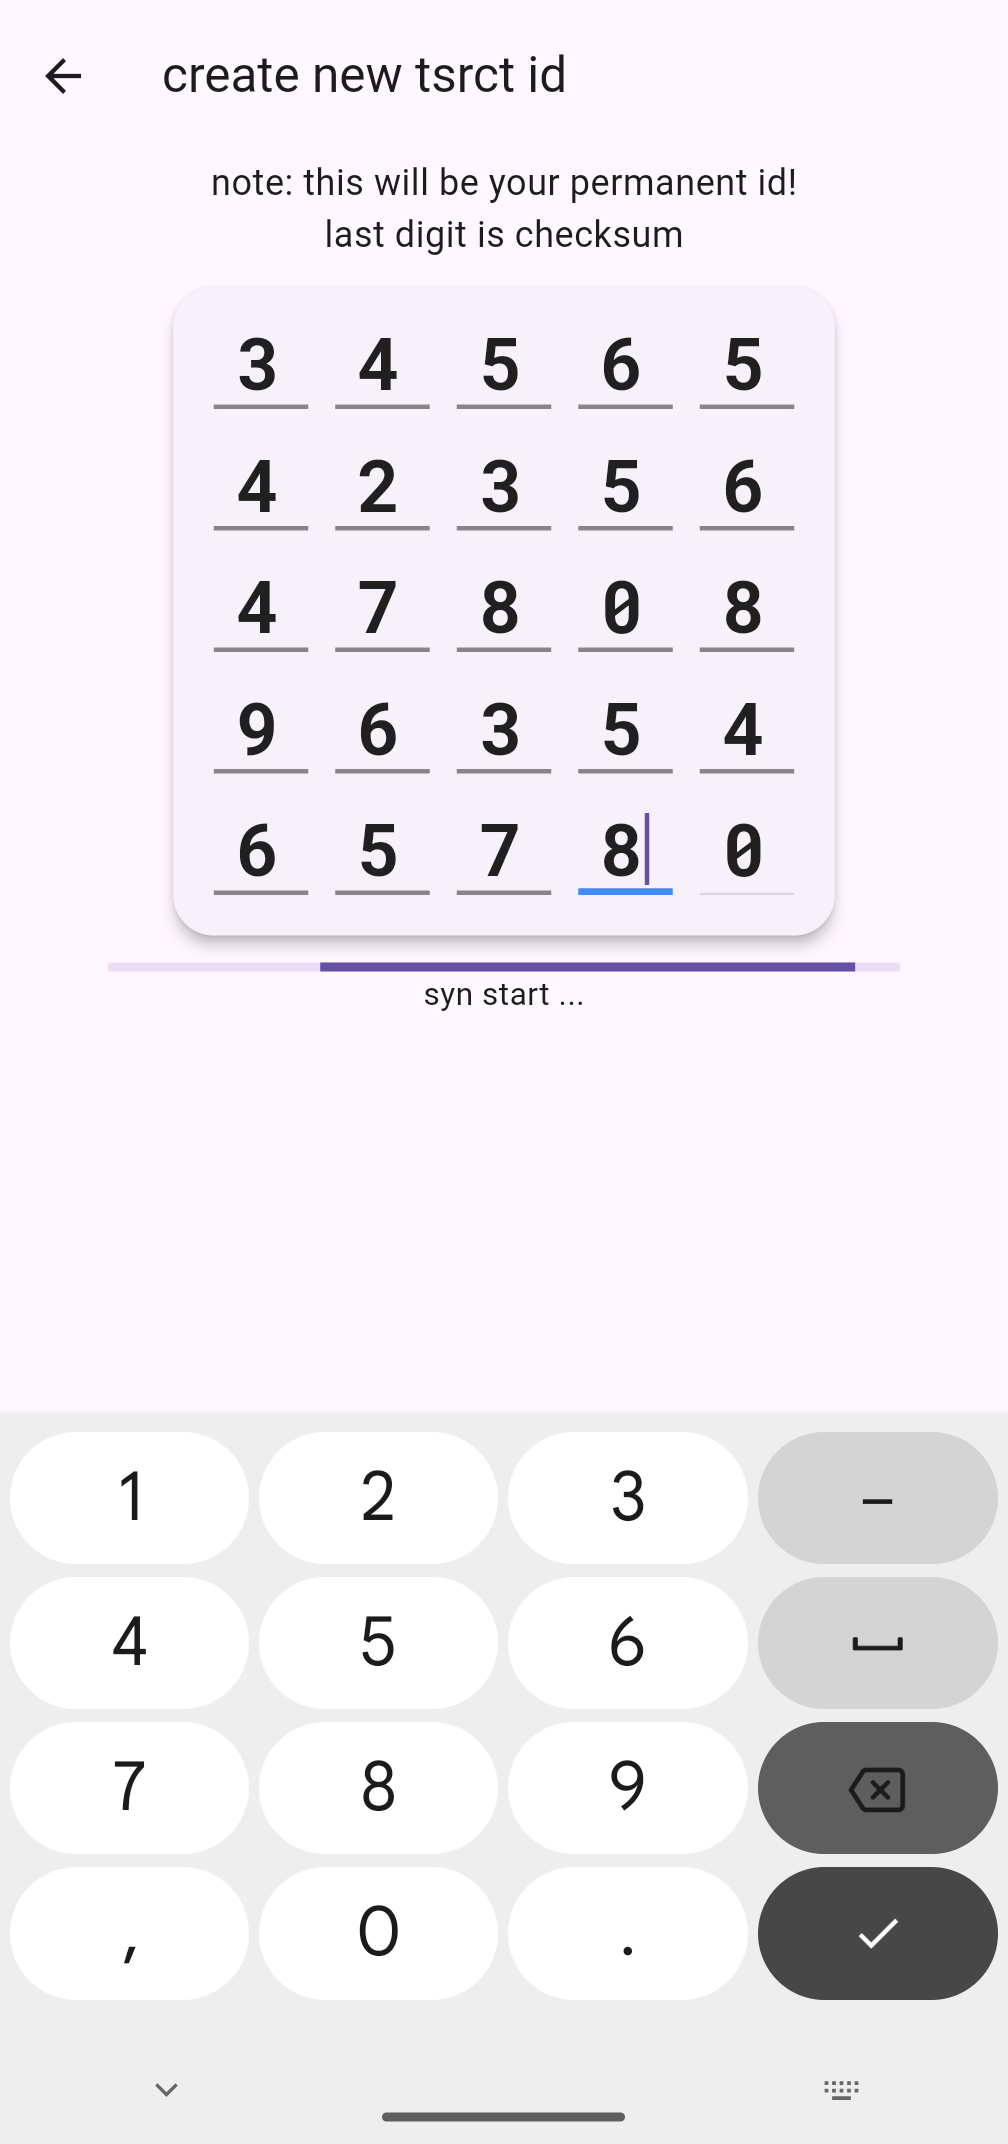
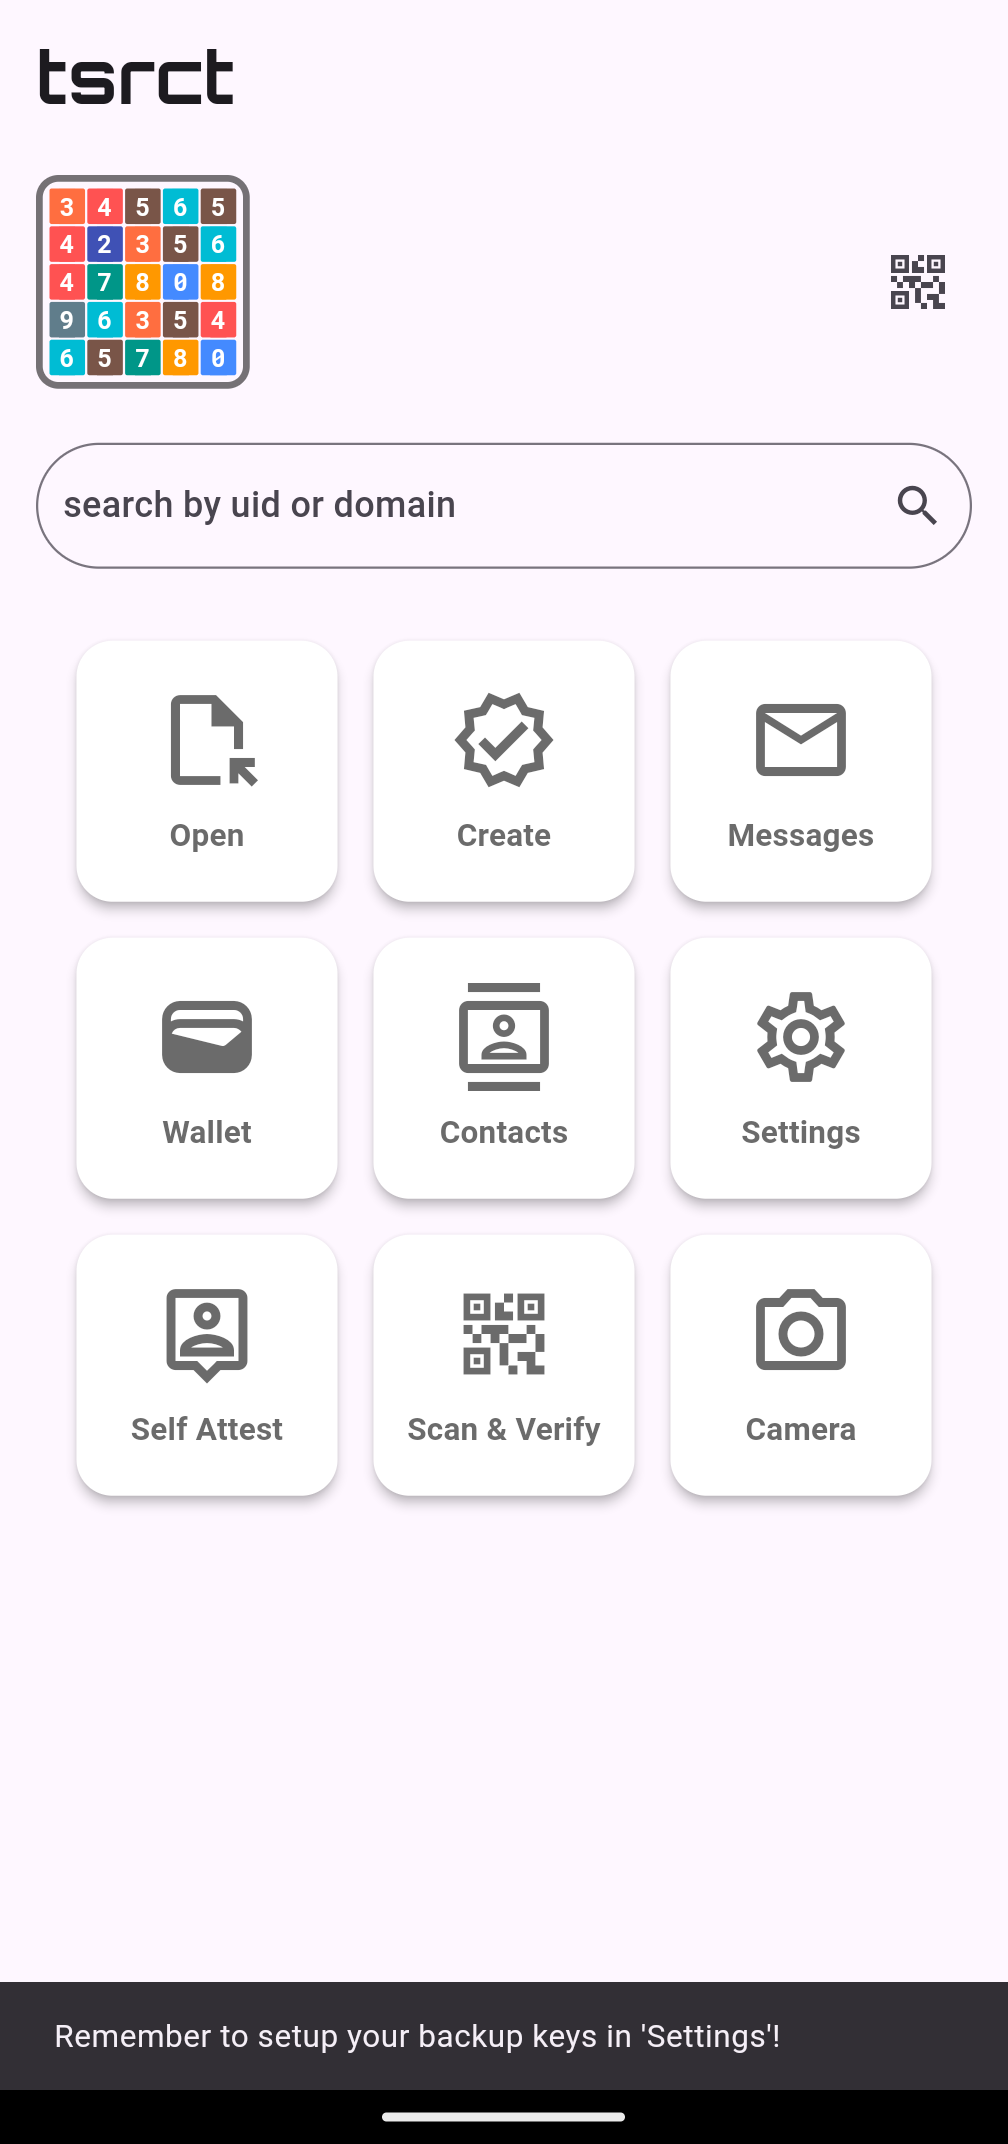
Once you select your id, you’ll be taken to the home page:
Self Attestation
![]()
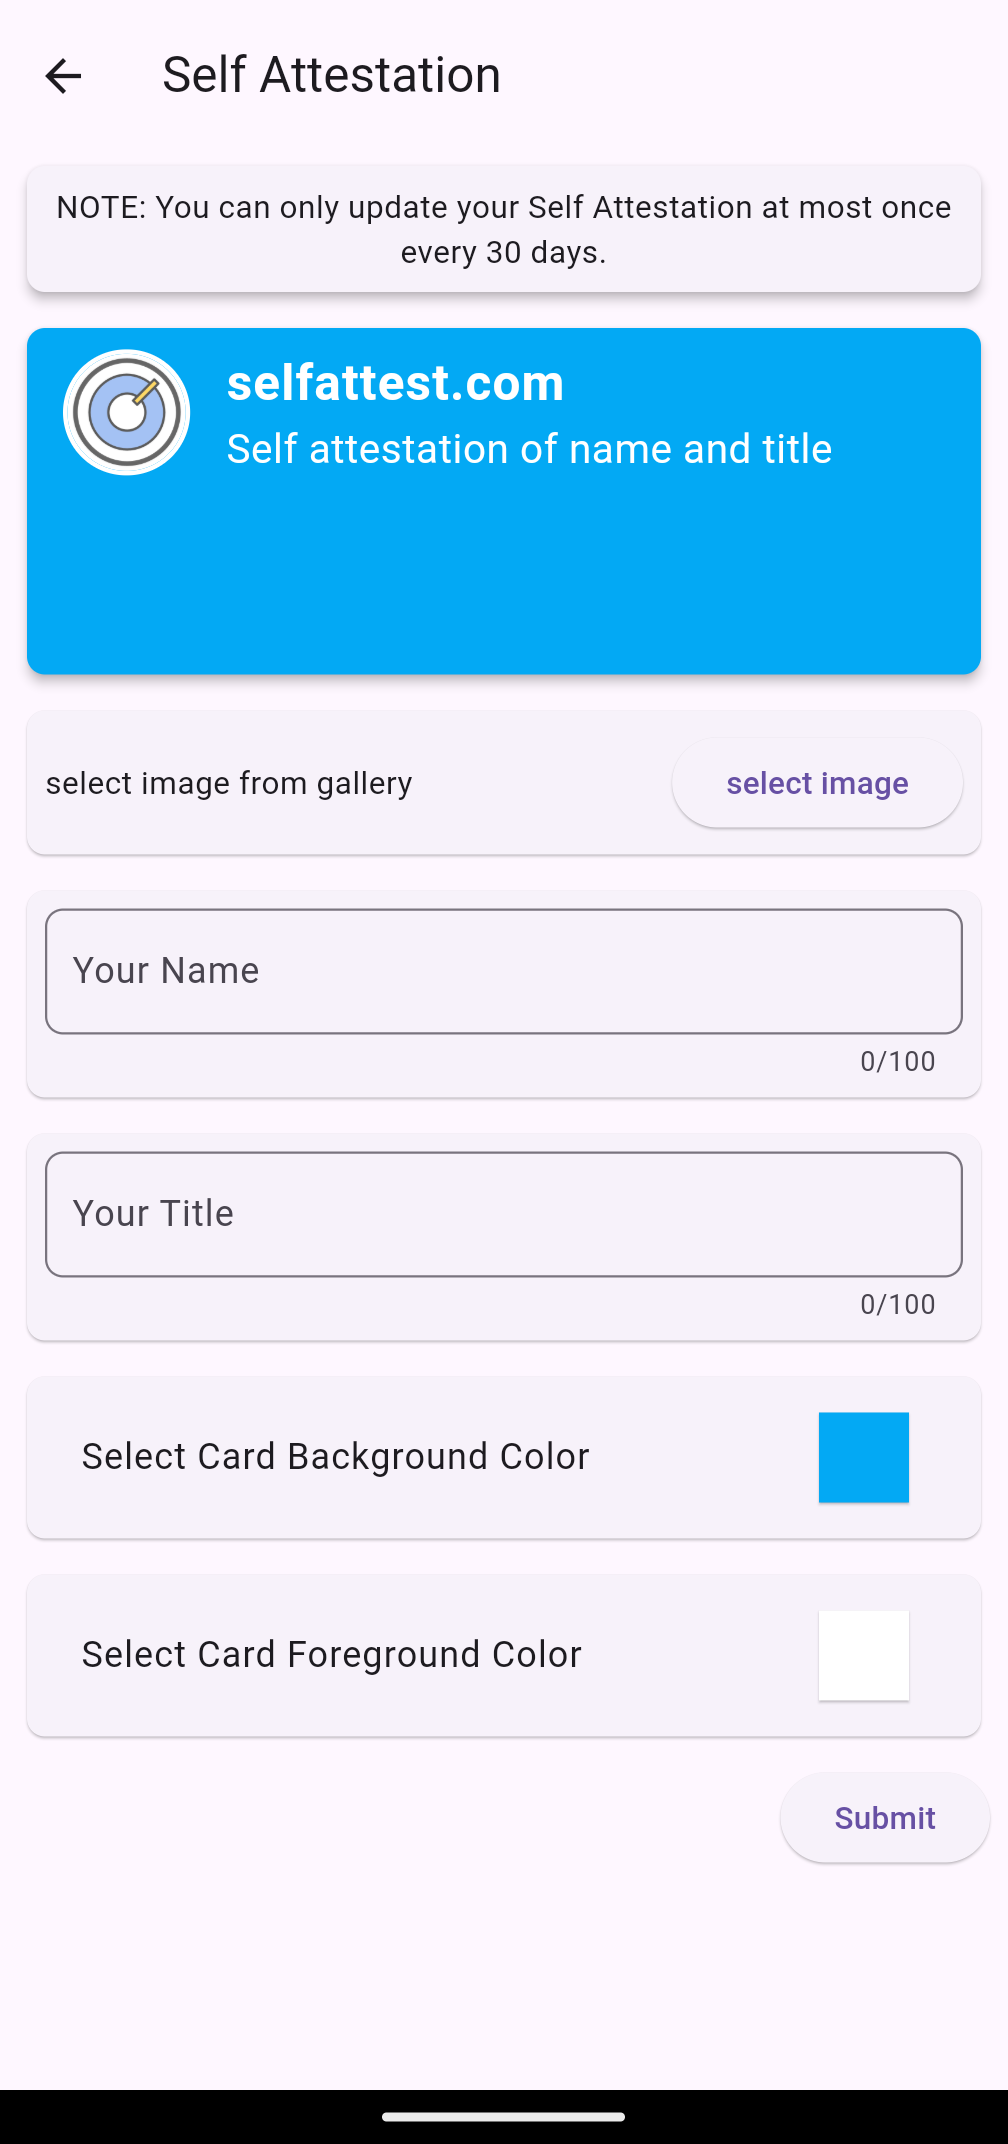
You can create your own persona (“Self Attestation”) through the “Self Attest” button. For safety purposes, self attestations can only be changed once every 30 days.
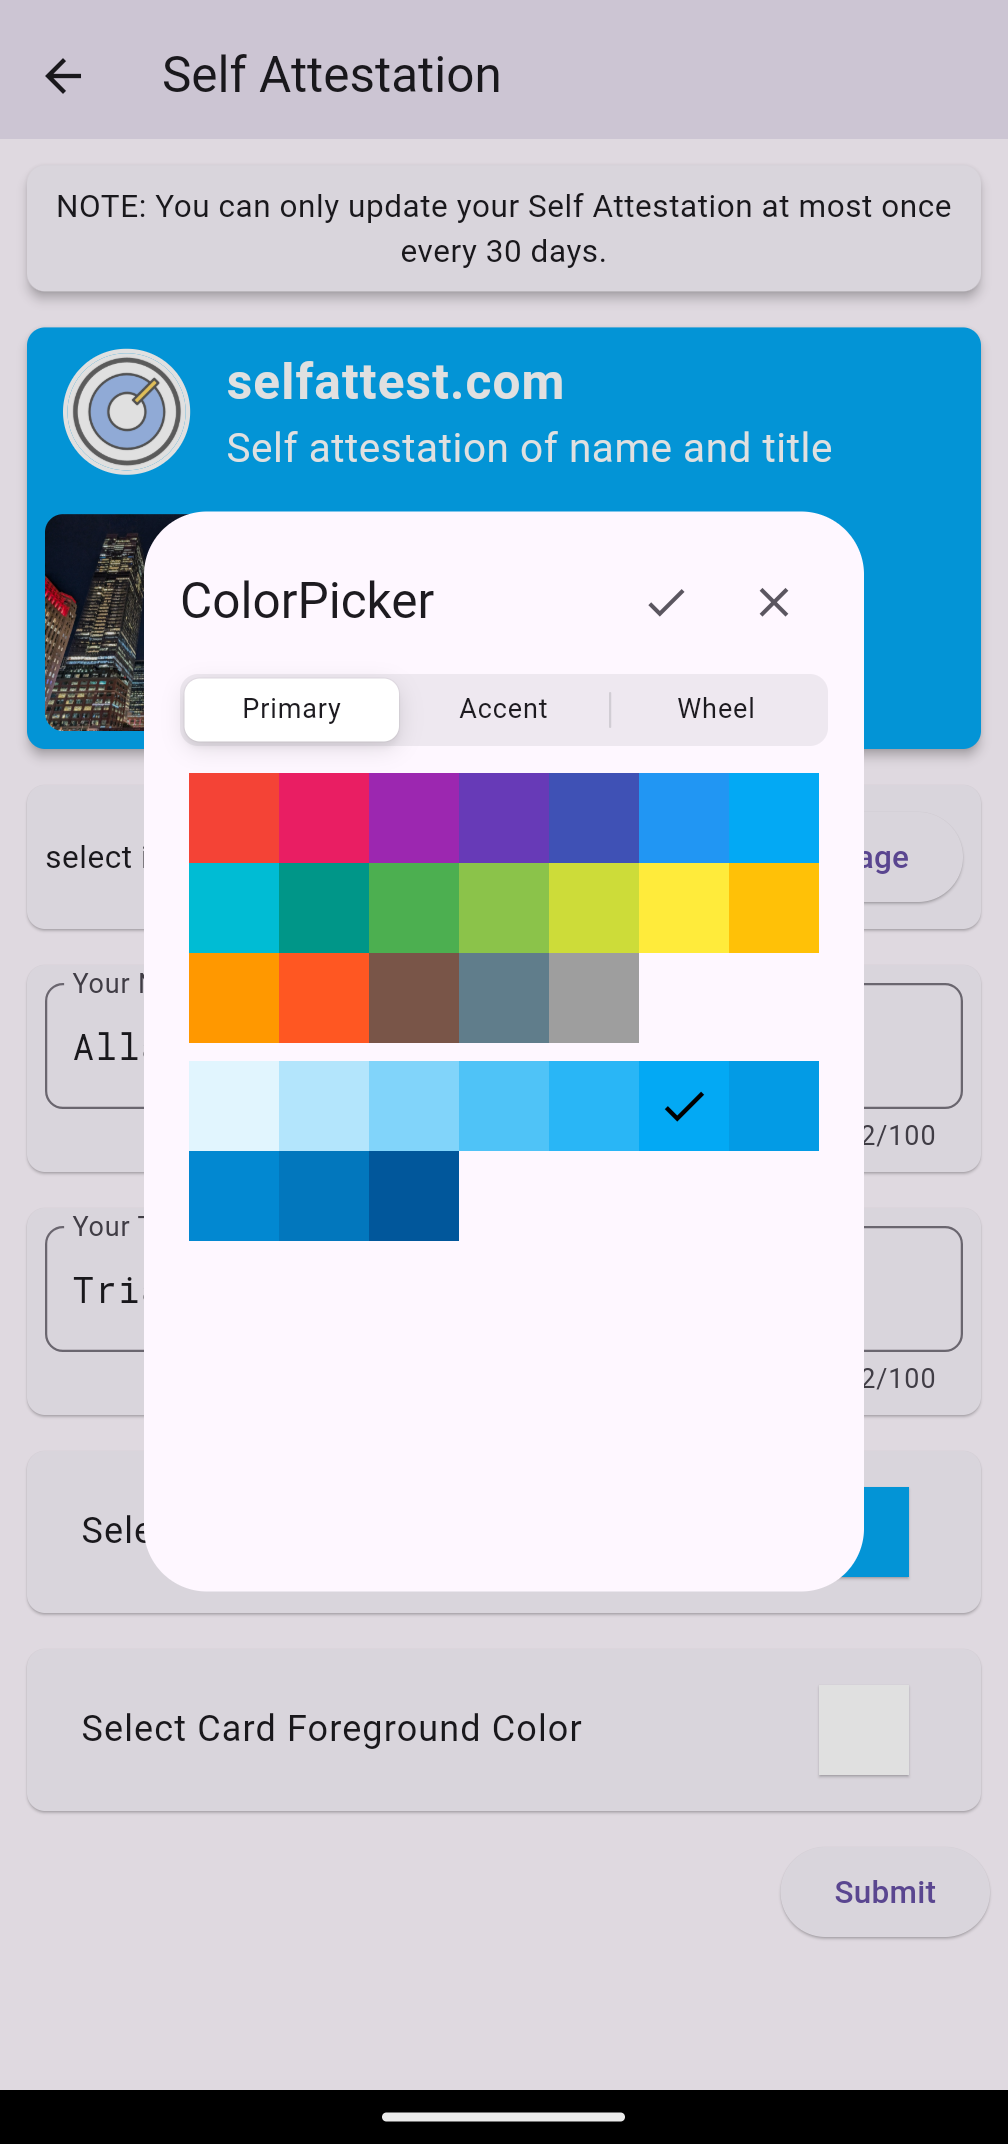
In the self attestation screen, you can set your profile image, your name and title, and also customize the color of your card:
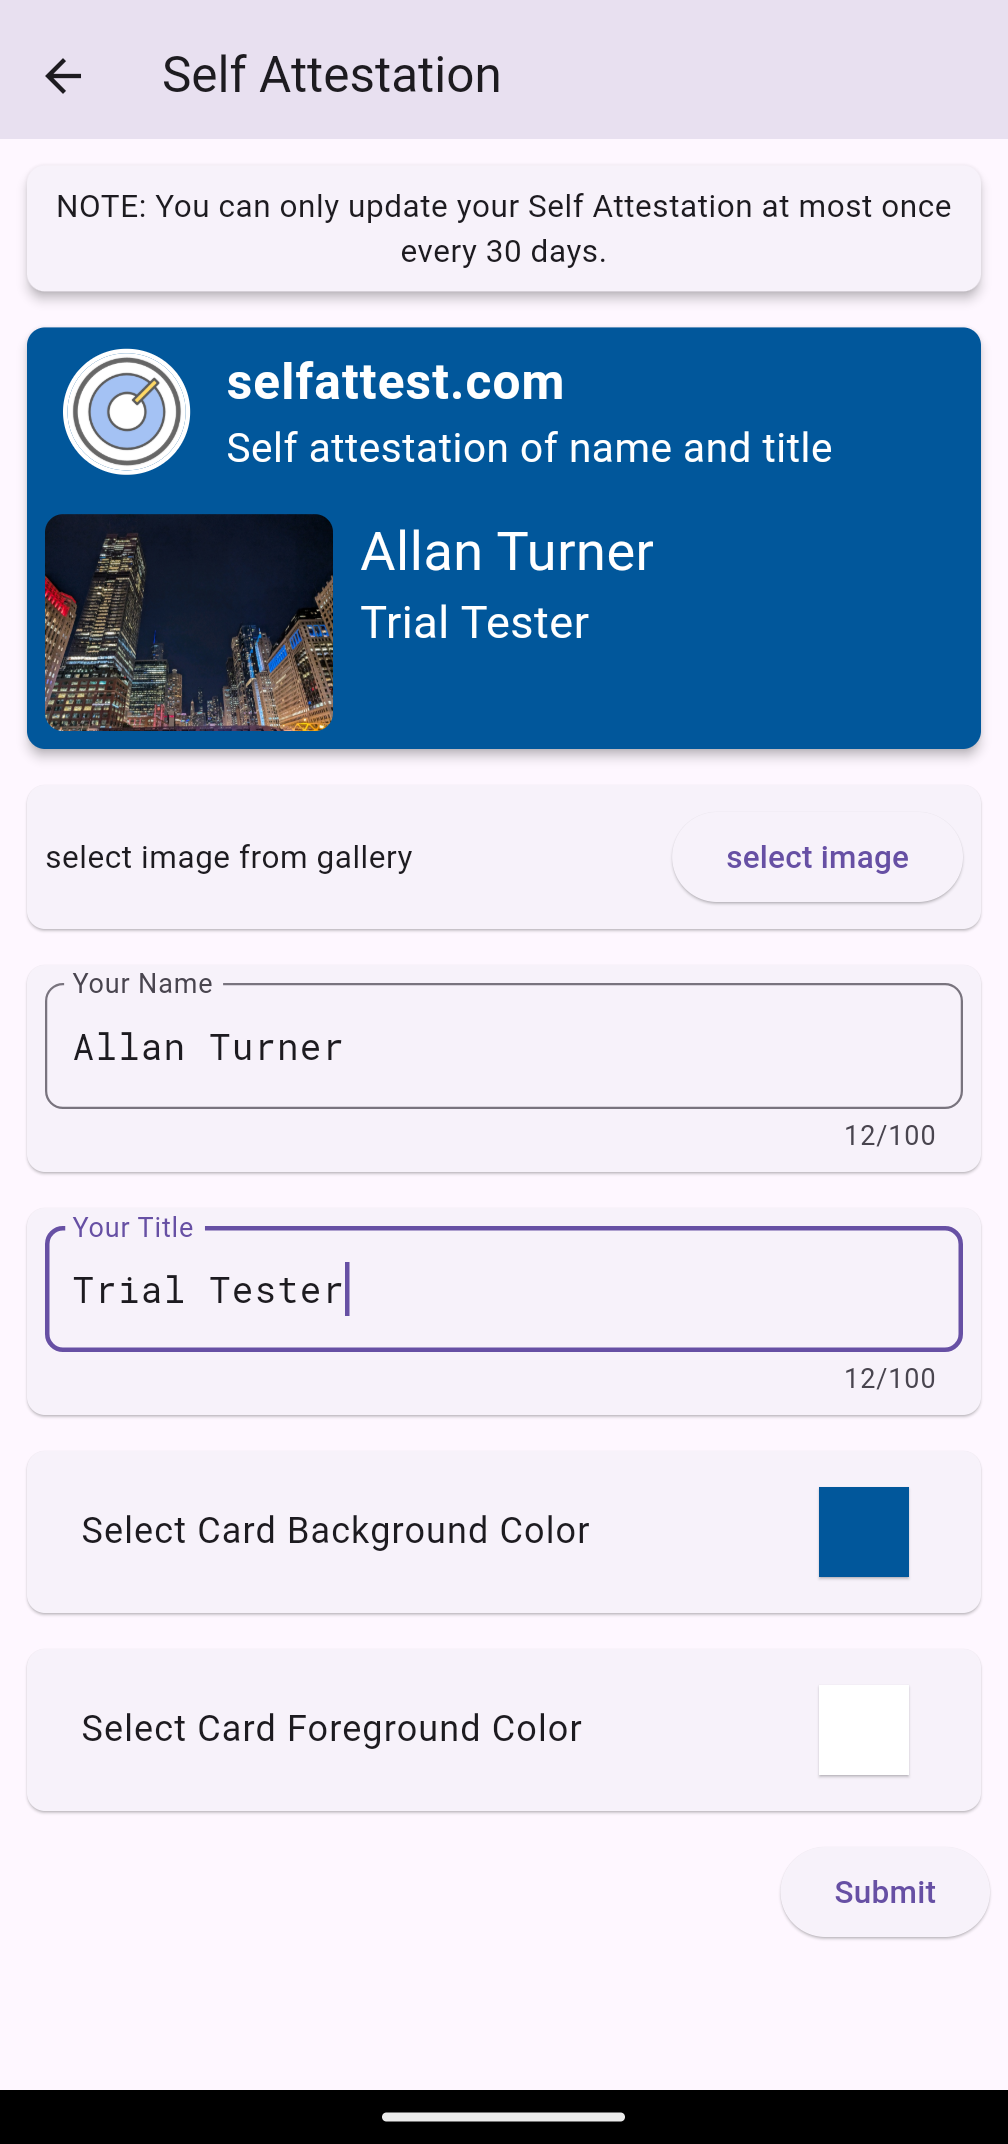
Once you press Submit, the attestation issuance starts:
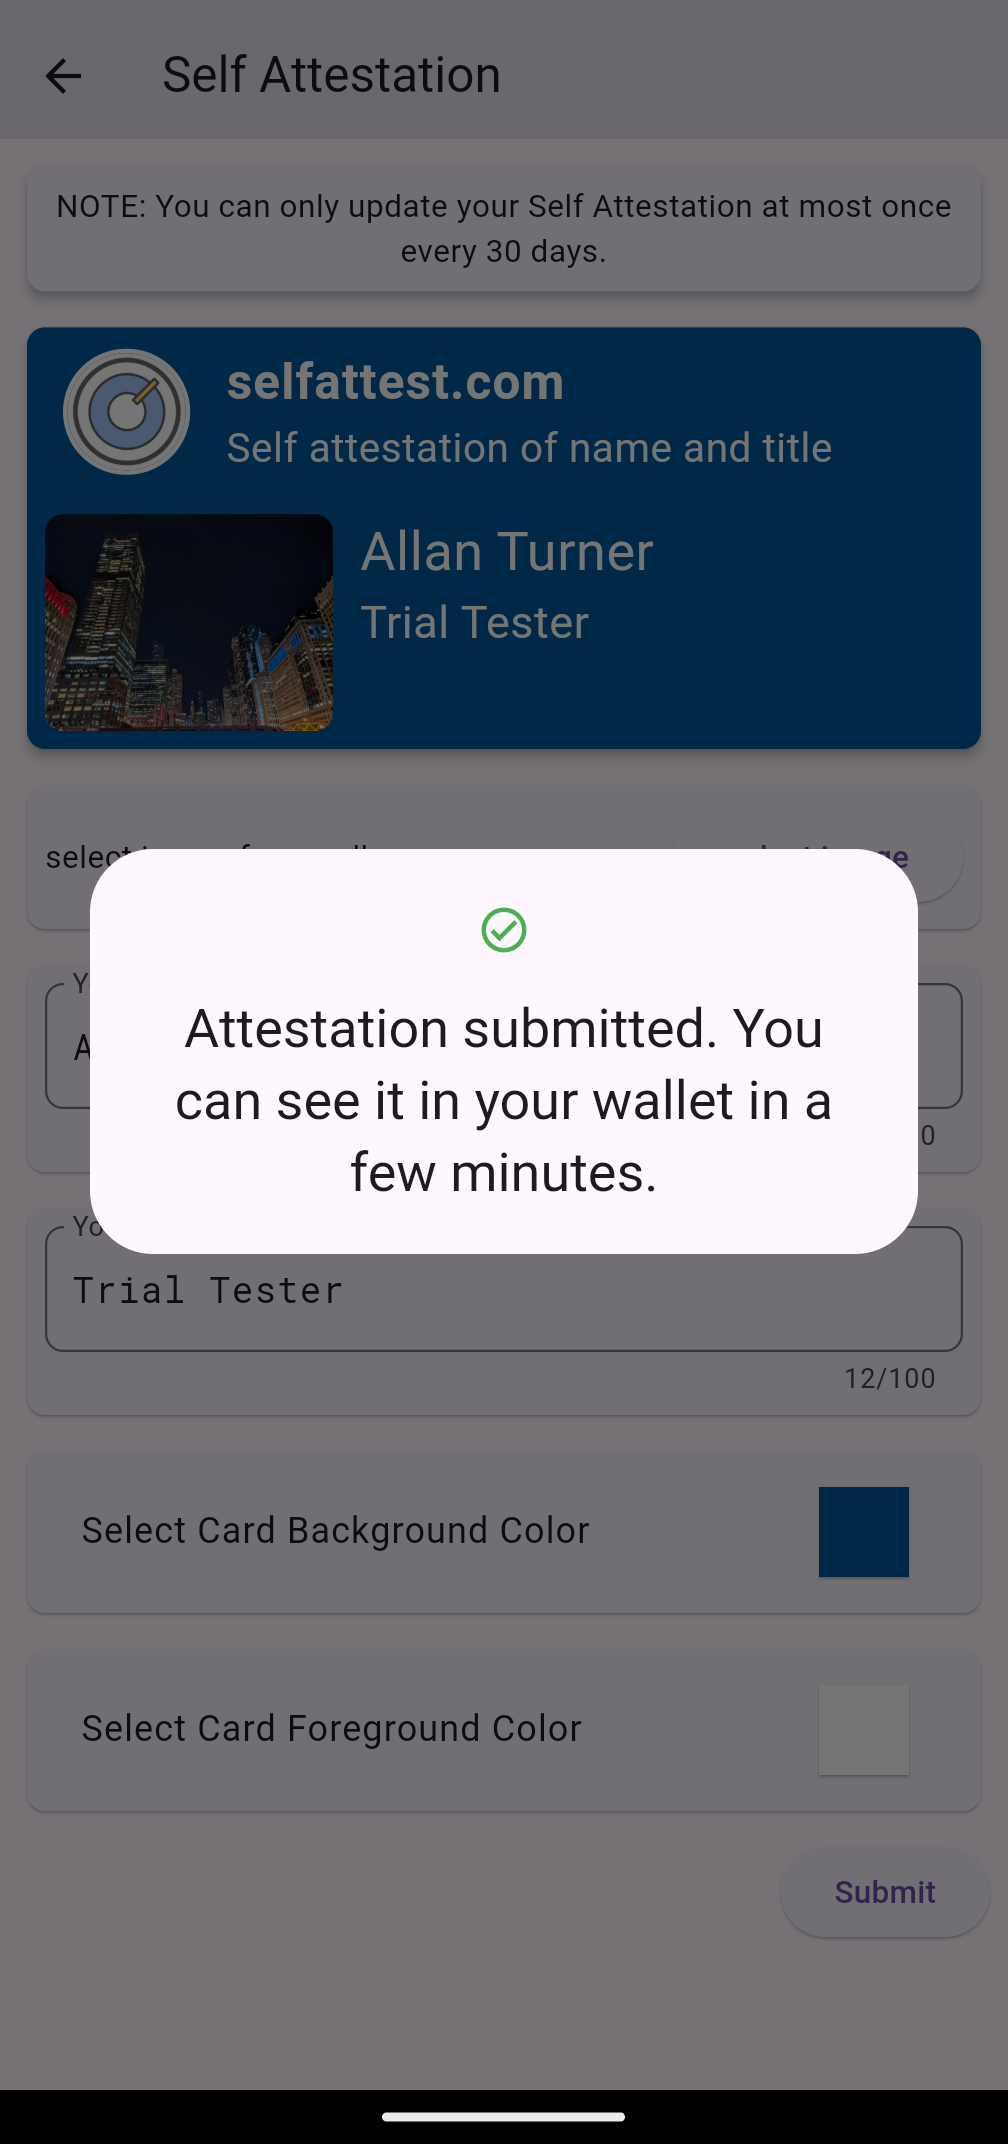
Tap anywhere to exit the dialog, and you’ll see the following notice:
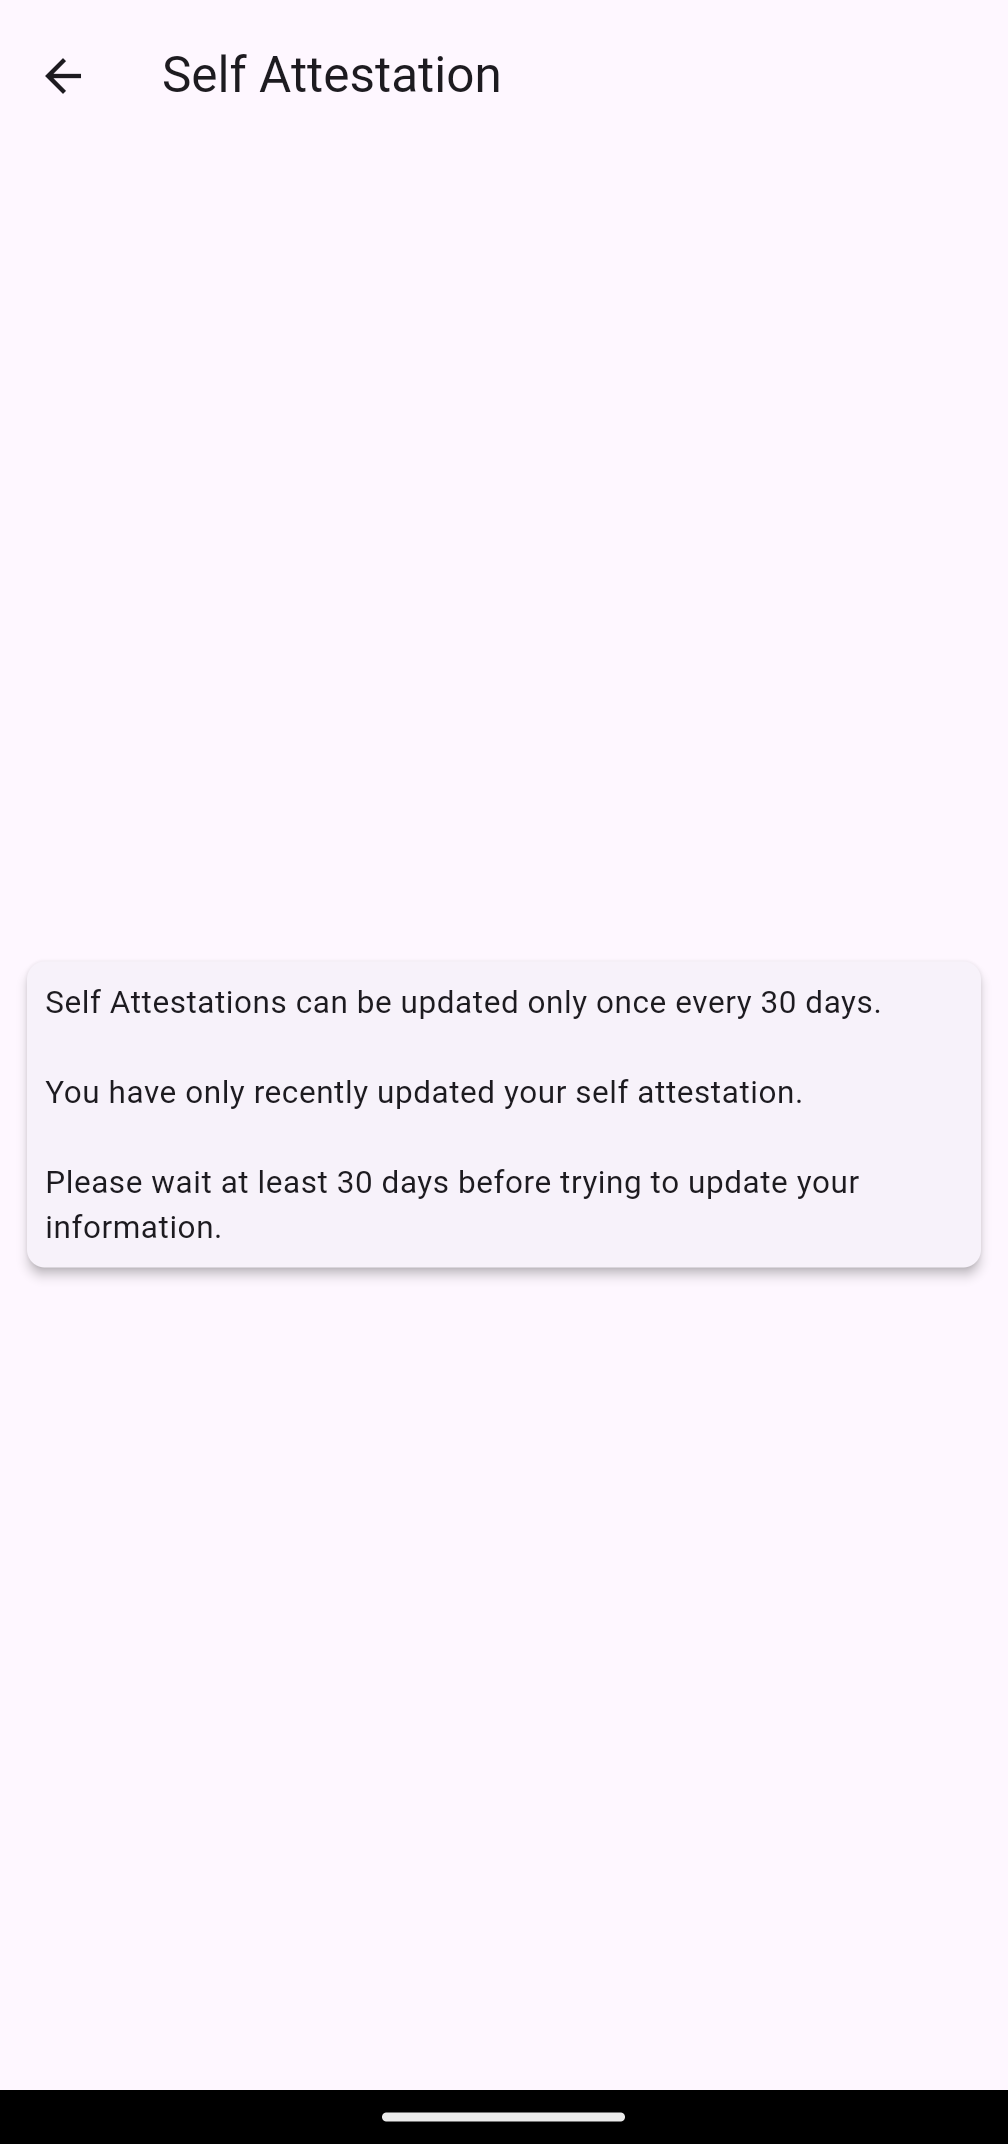
![]()
Pull to refresh your wallet view a few times, and then you’ll see your Self Attestation card show up in your Wallet:
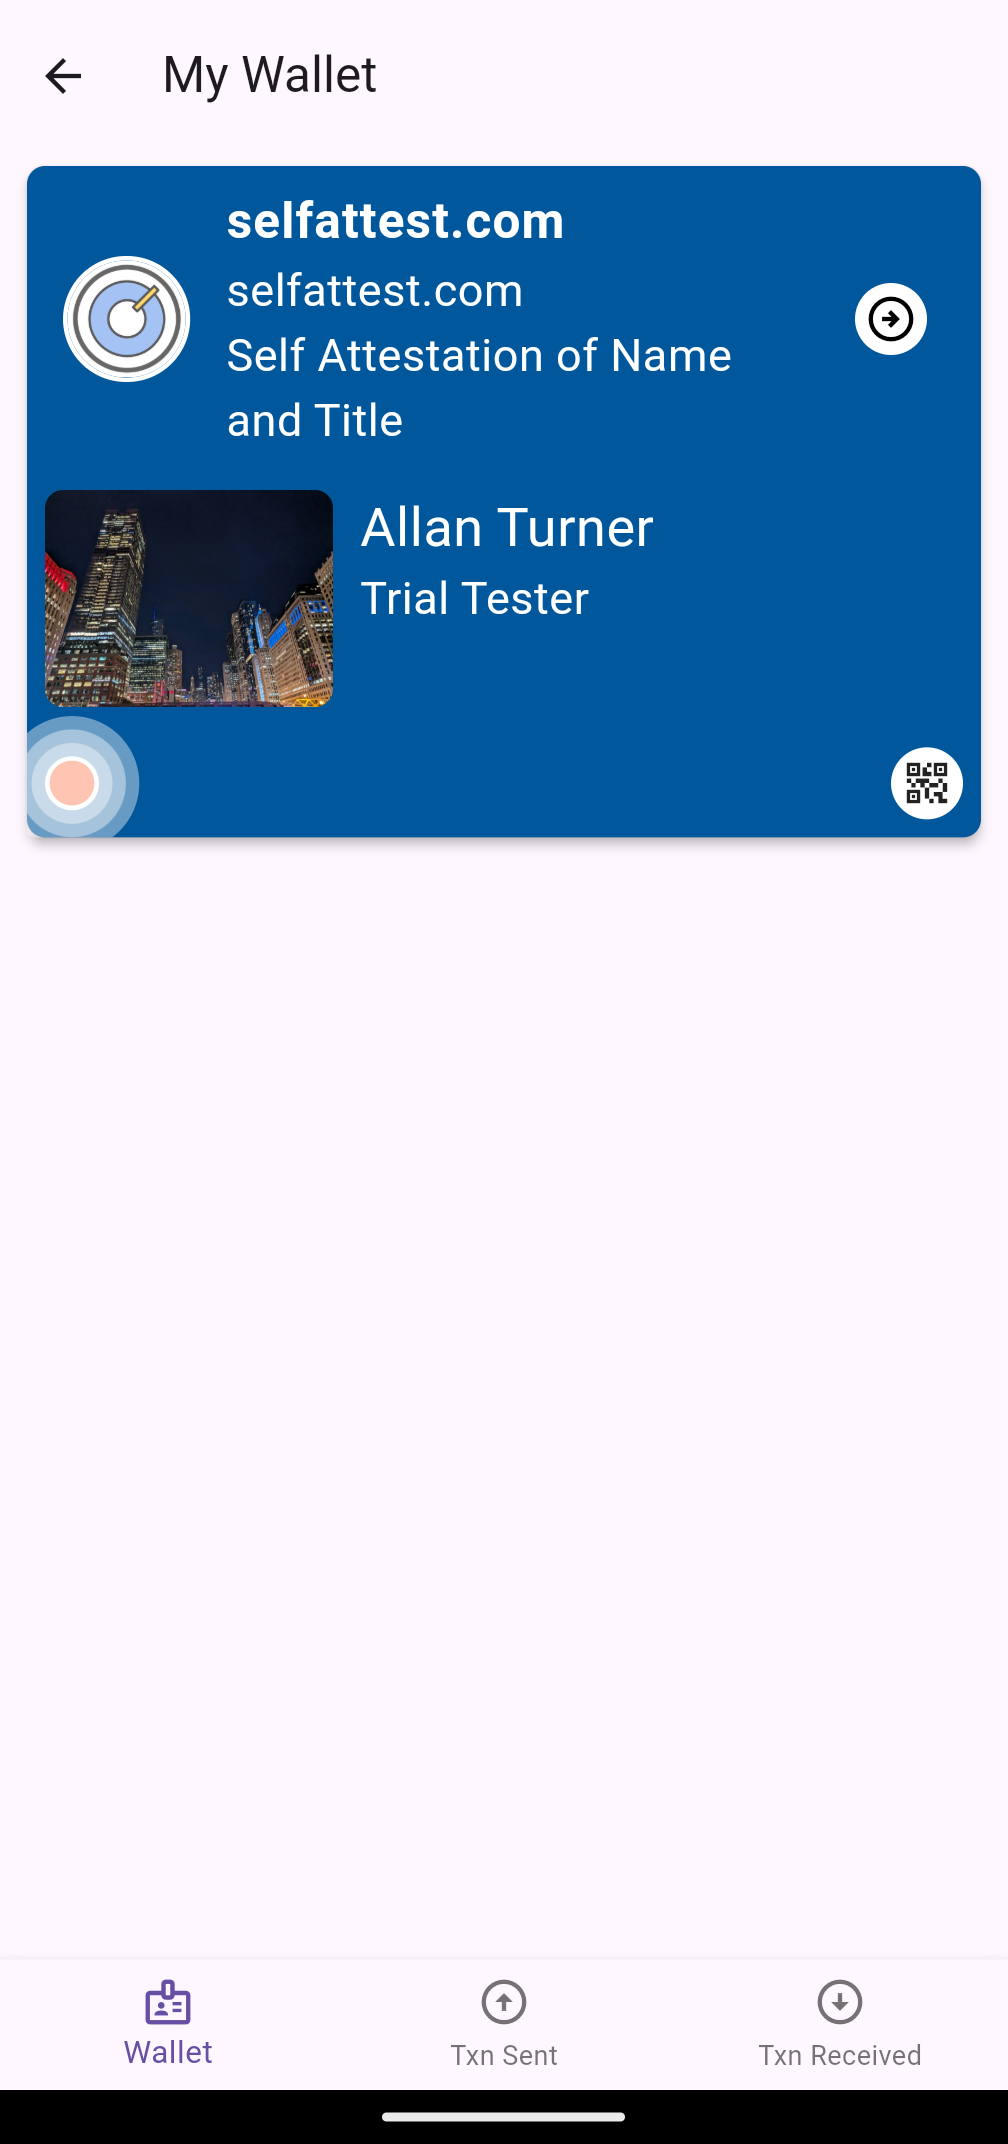
NOTE: Self attestation indicates to others a persona you have chosen for yourself. Since this is not verifiable information, it is treated with low confidence.
Backup Keys
![]()
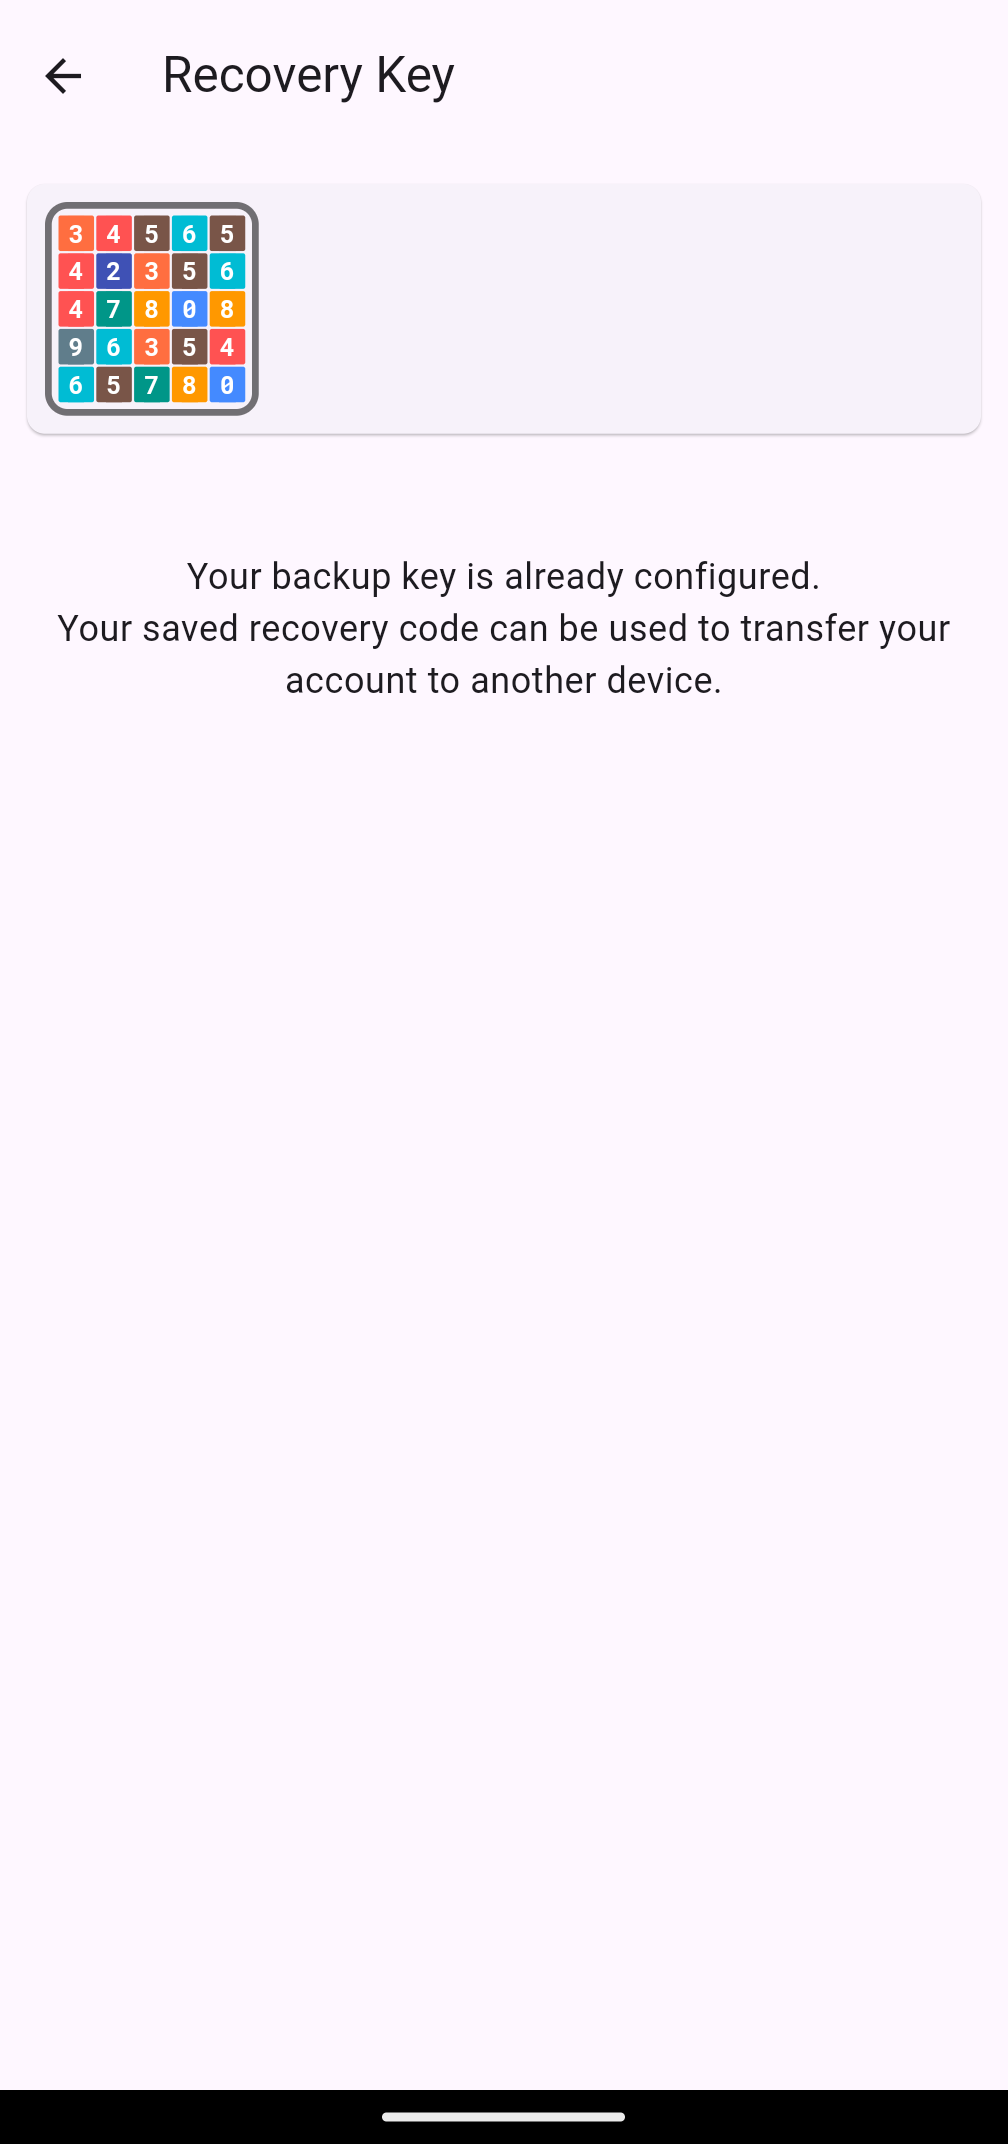
Tsrct is designed as a secure platform and therefore has no recovery mechanism for your account. Only you can keep your account safe. The most essential step in recovering your account is to create backup keys and keeping them secure.
To create backup keys:
- HAVE A PEN AND PAPER HANDY to write down the key as the key will not be shown again after creation. Tsrct cannot recover this key for you under any circumstances. This is part of the design and cannot be changed.
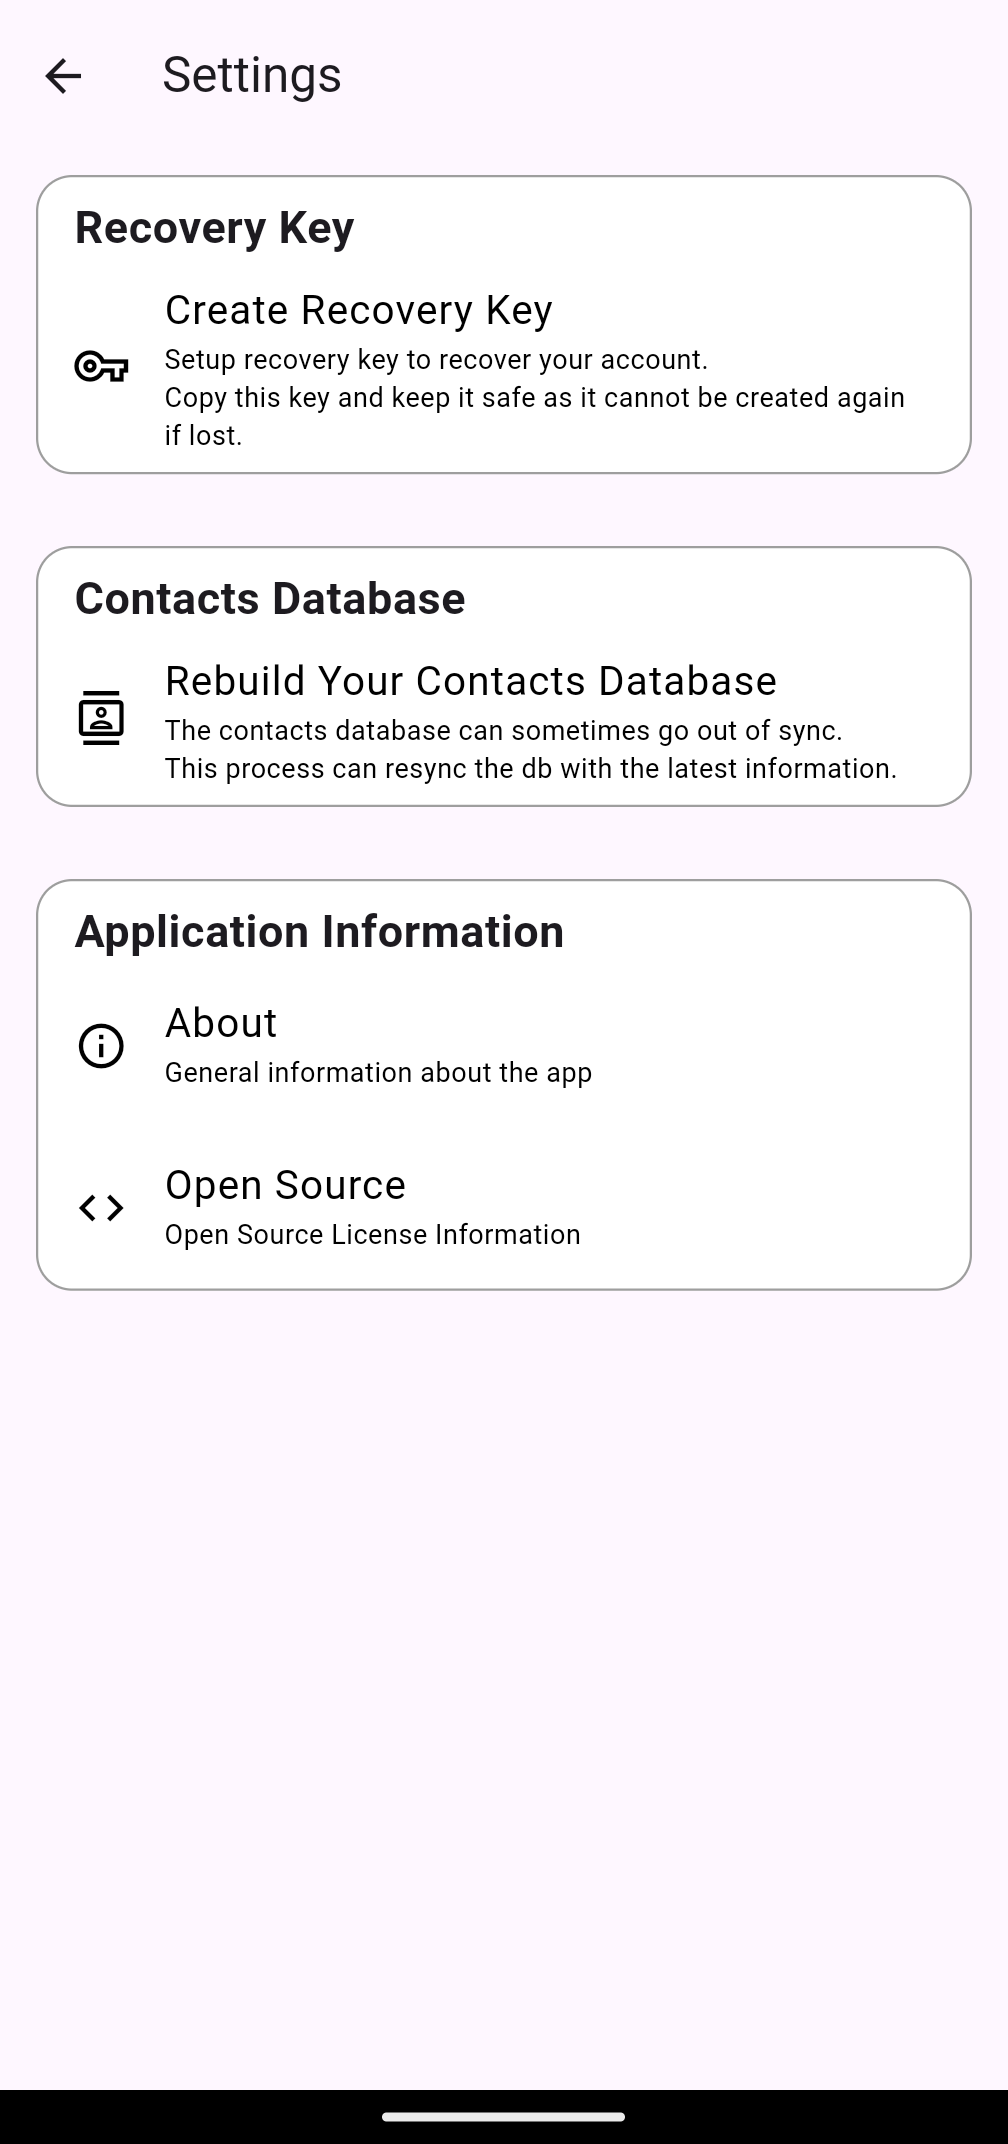
- Go to the
Settings page and select
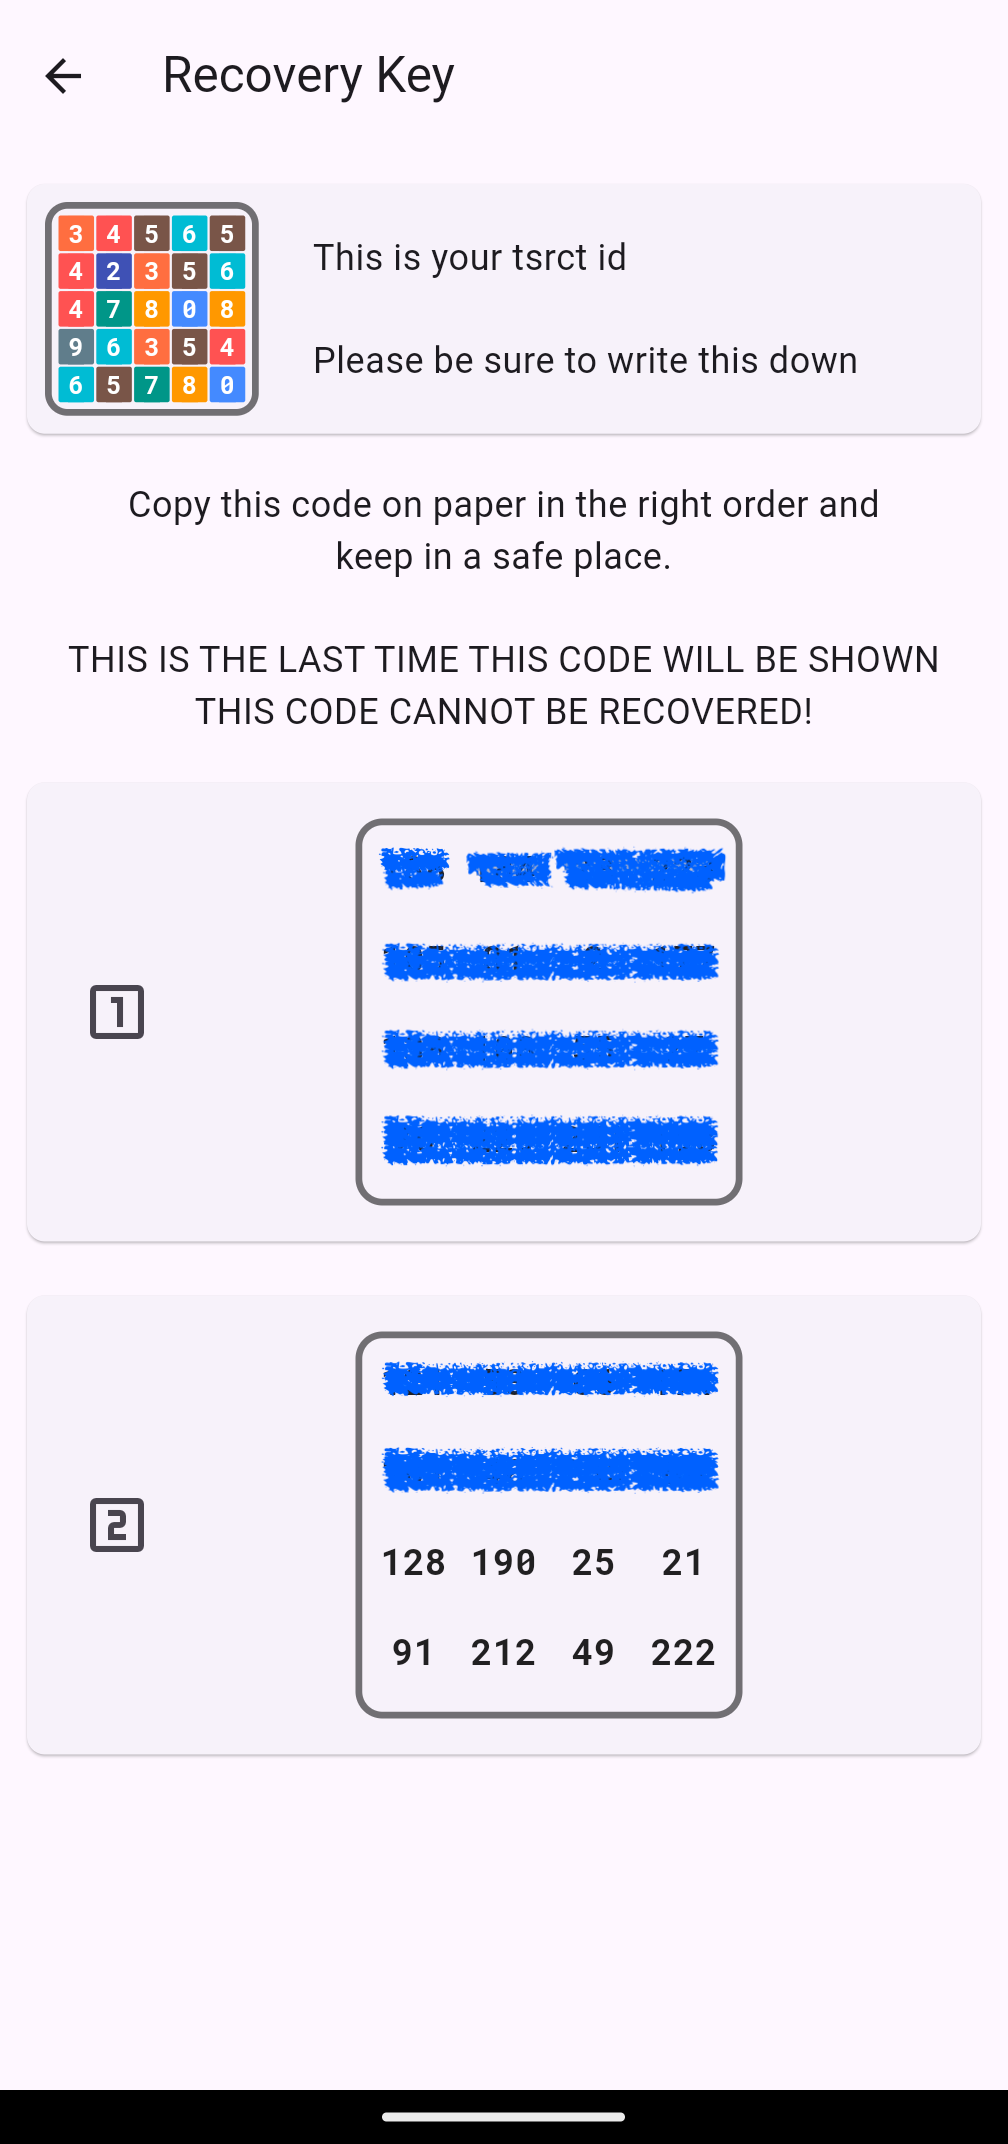
 Create Backup Key - Once the key is shown (it will be your tsrct id, and two sets of 16 numbers:
Group 1andGroup 2) - Write down your tsrct id, the Group 1 numbers and the Group 2 numbers. The numbers are presented in a grid format for your convenience. When recovering your key, you’ll be entering them in the same format.
- All of these numbers will be required for recovering your account.
Yes its tedious, but it is the best system we have.
Once you’ve written the key down, you can save the key in a safe spot with your other valuables.
Add Contacts
You can add contacts (other users and organizations) by scanning their QR codes or entering their tsrct ids in the search bar on the home screen. Only contacts present in your contact list can send you messages.
You can remove contacts at any time. Removing a contact will prohibit them from sending you any further messages.
You can also add a contact when you see this icon ![]() on the top of any document you’re viewing
on the top of any document you’re viewing
Similarly, you can message only those tsrct ids who have you in their contact list. Even if you have a contact in your contact list, if the contact has not added you, you will be unable to send them a message.
Take Photos from the App
![]()
Photos taken from within the app carry a special signature that certifies that the photo has been taken fom the device camera and has not been altered and is not an upload.
Location information can also be attached to the message that is created using the photo from the in-app camera.
Use the in-app camera function to create messages that require assertion of a high degree of authenticity for time, location, and content.
NOTE: Photos taken from within the app are not stored in the device photo album.
Create a message
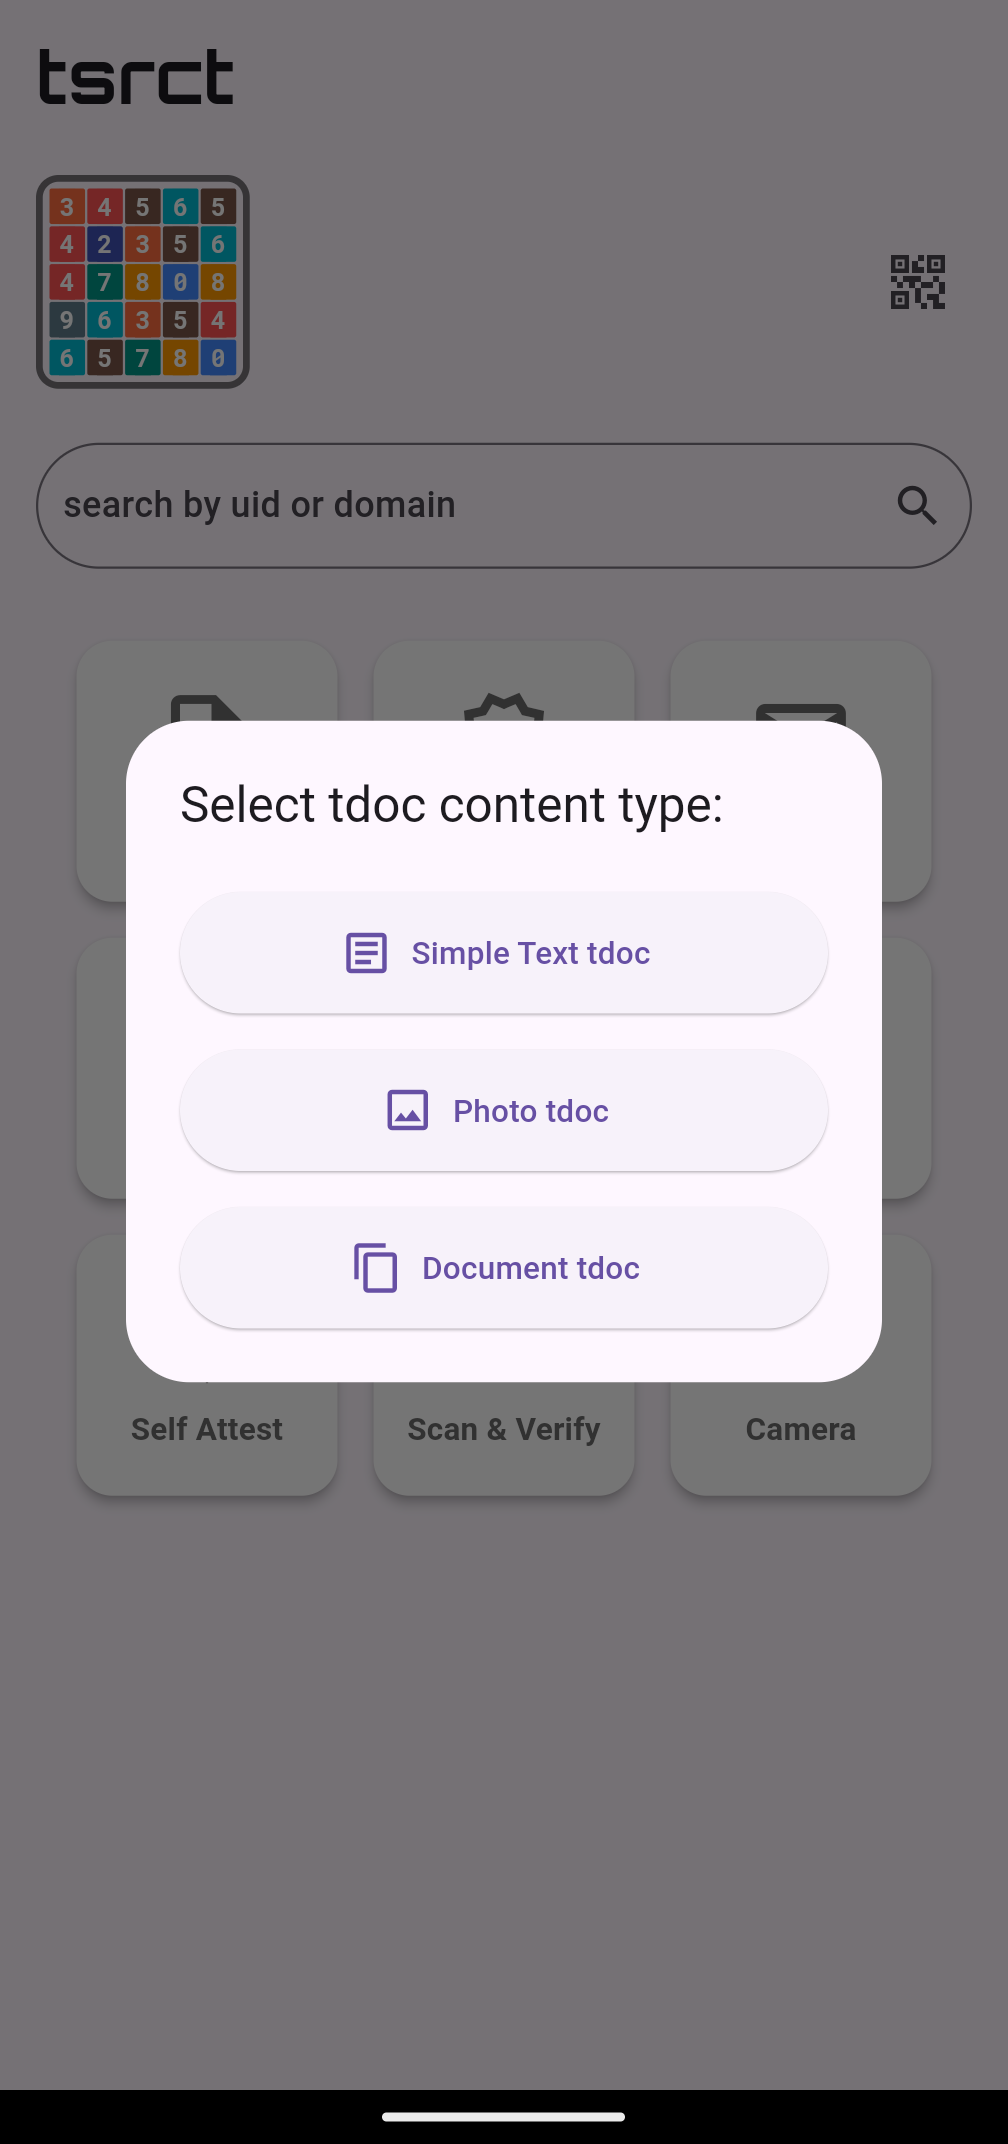
Select “Simple Text tdoc” and fill out the next page:
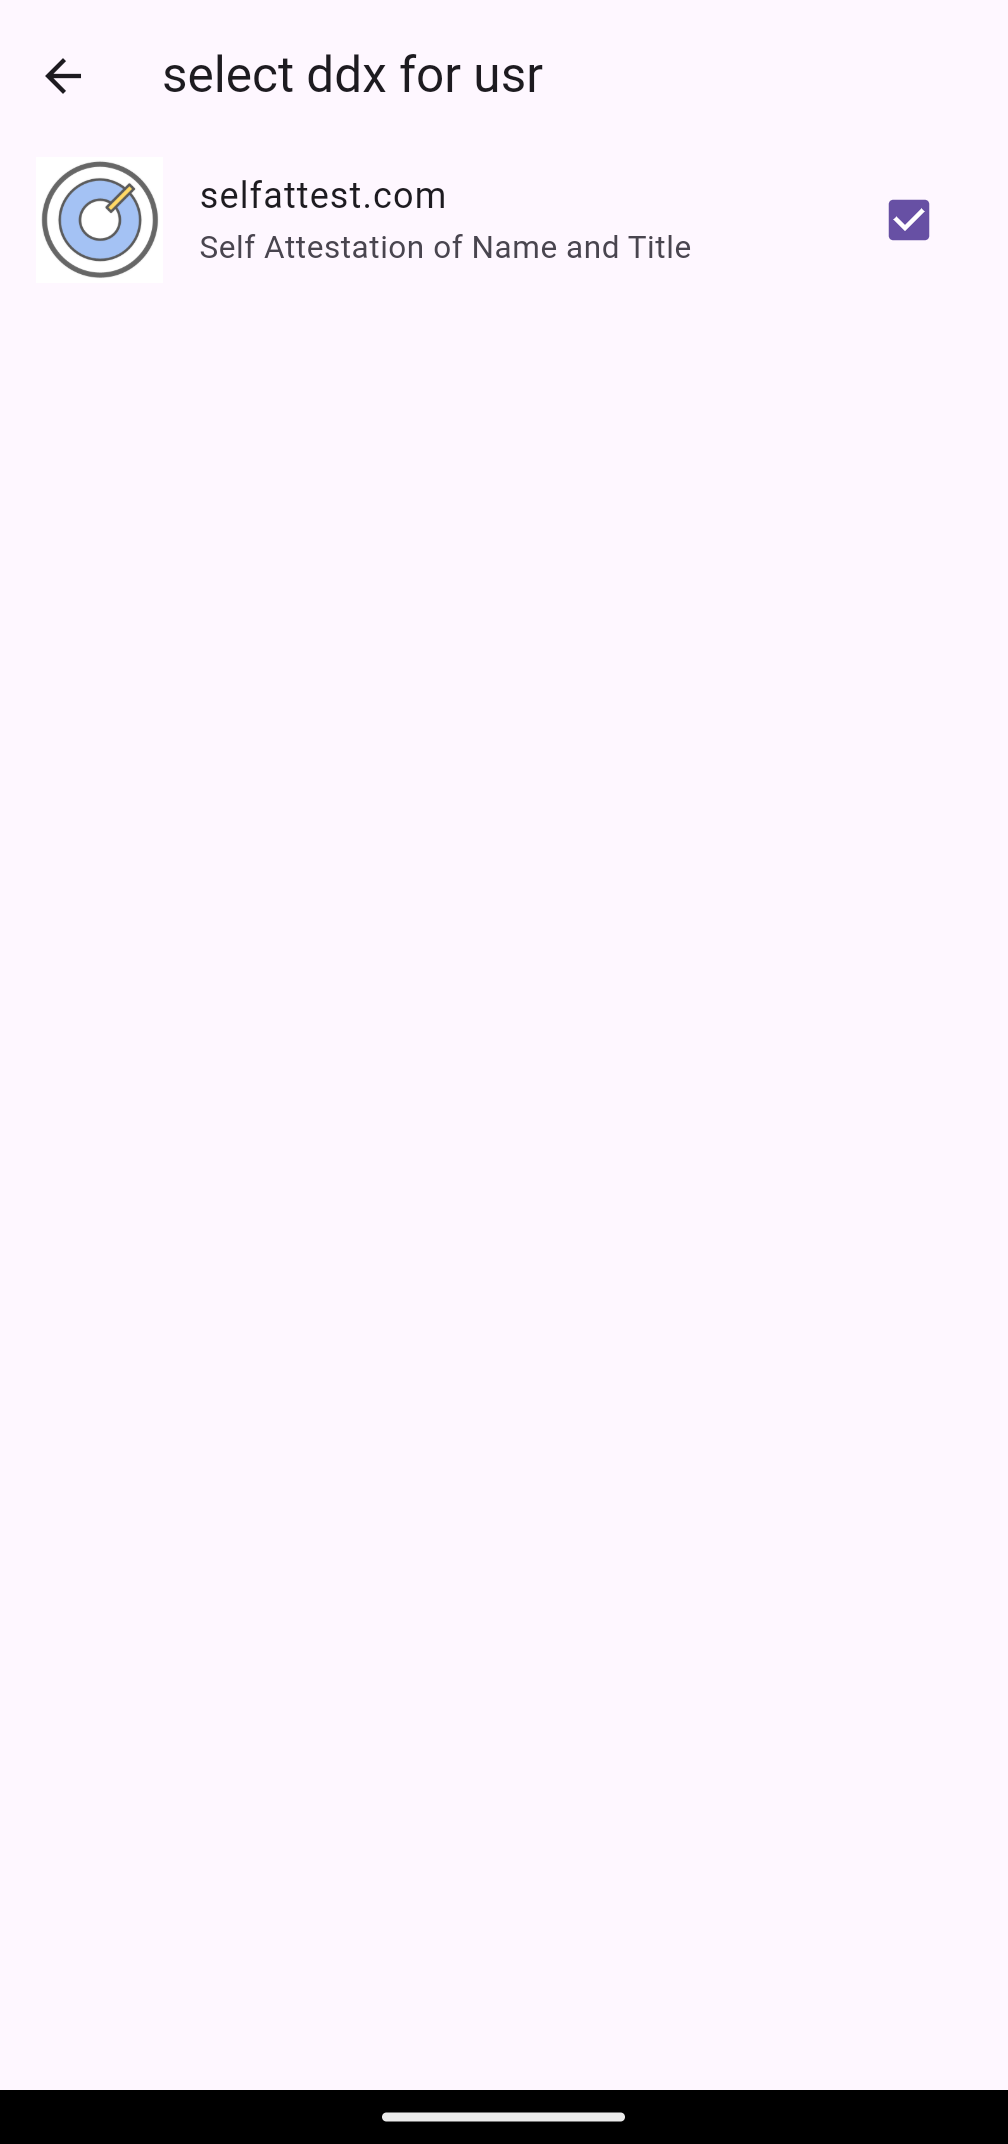
- selecting
ddxwill let you attach your self attested id to the message
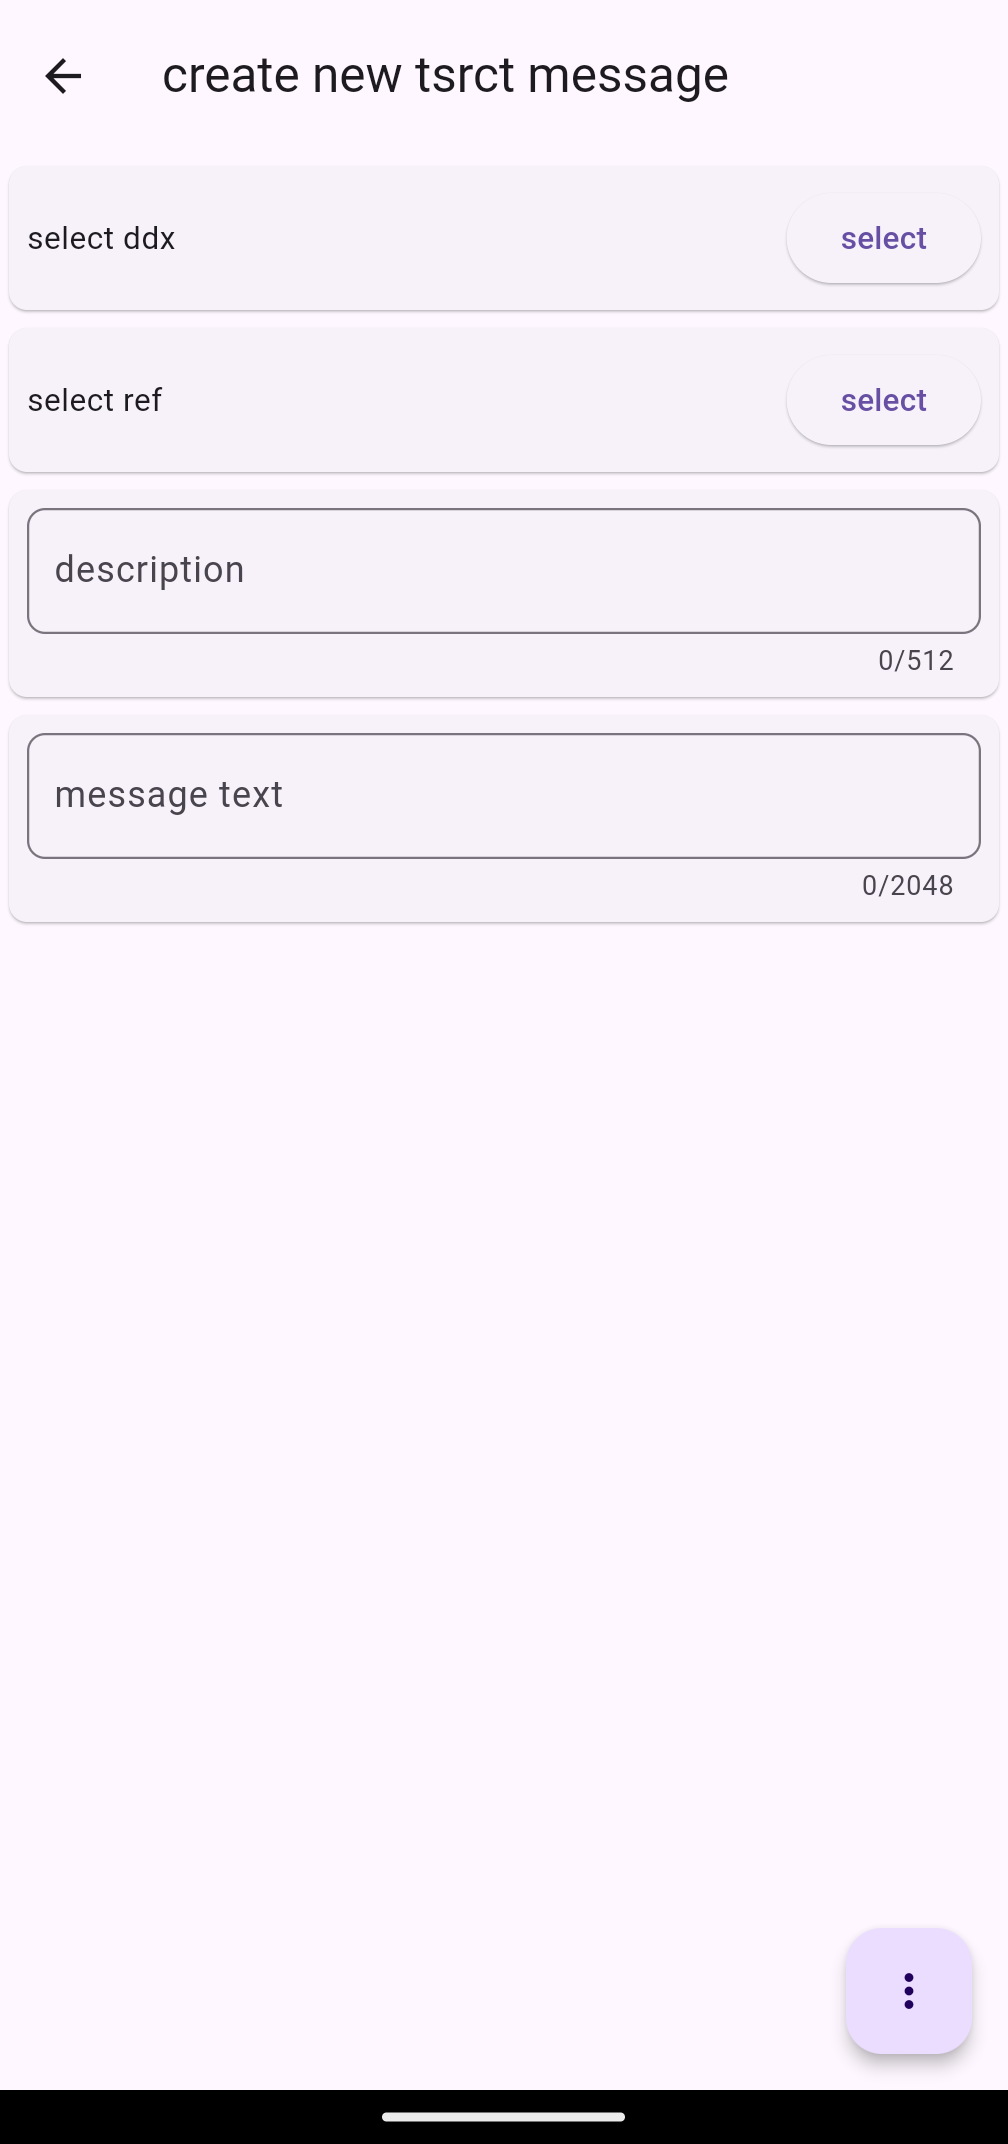
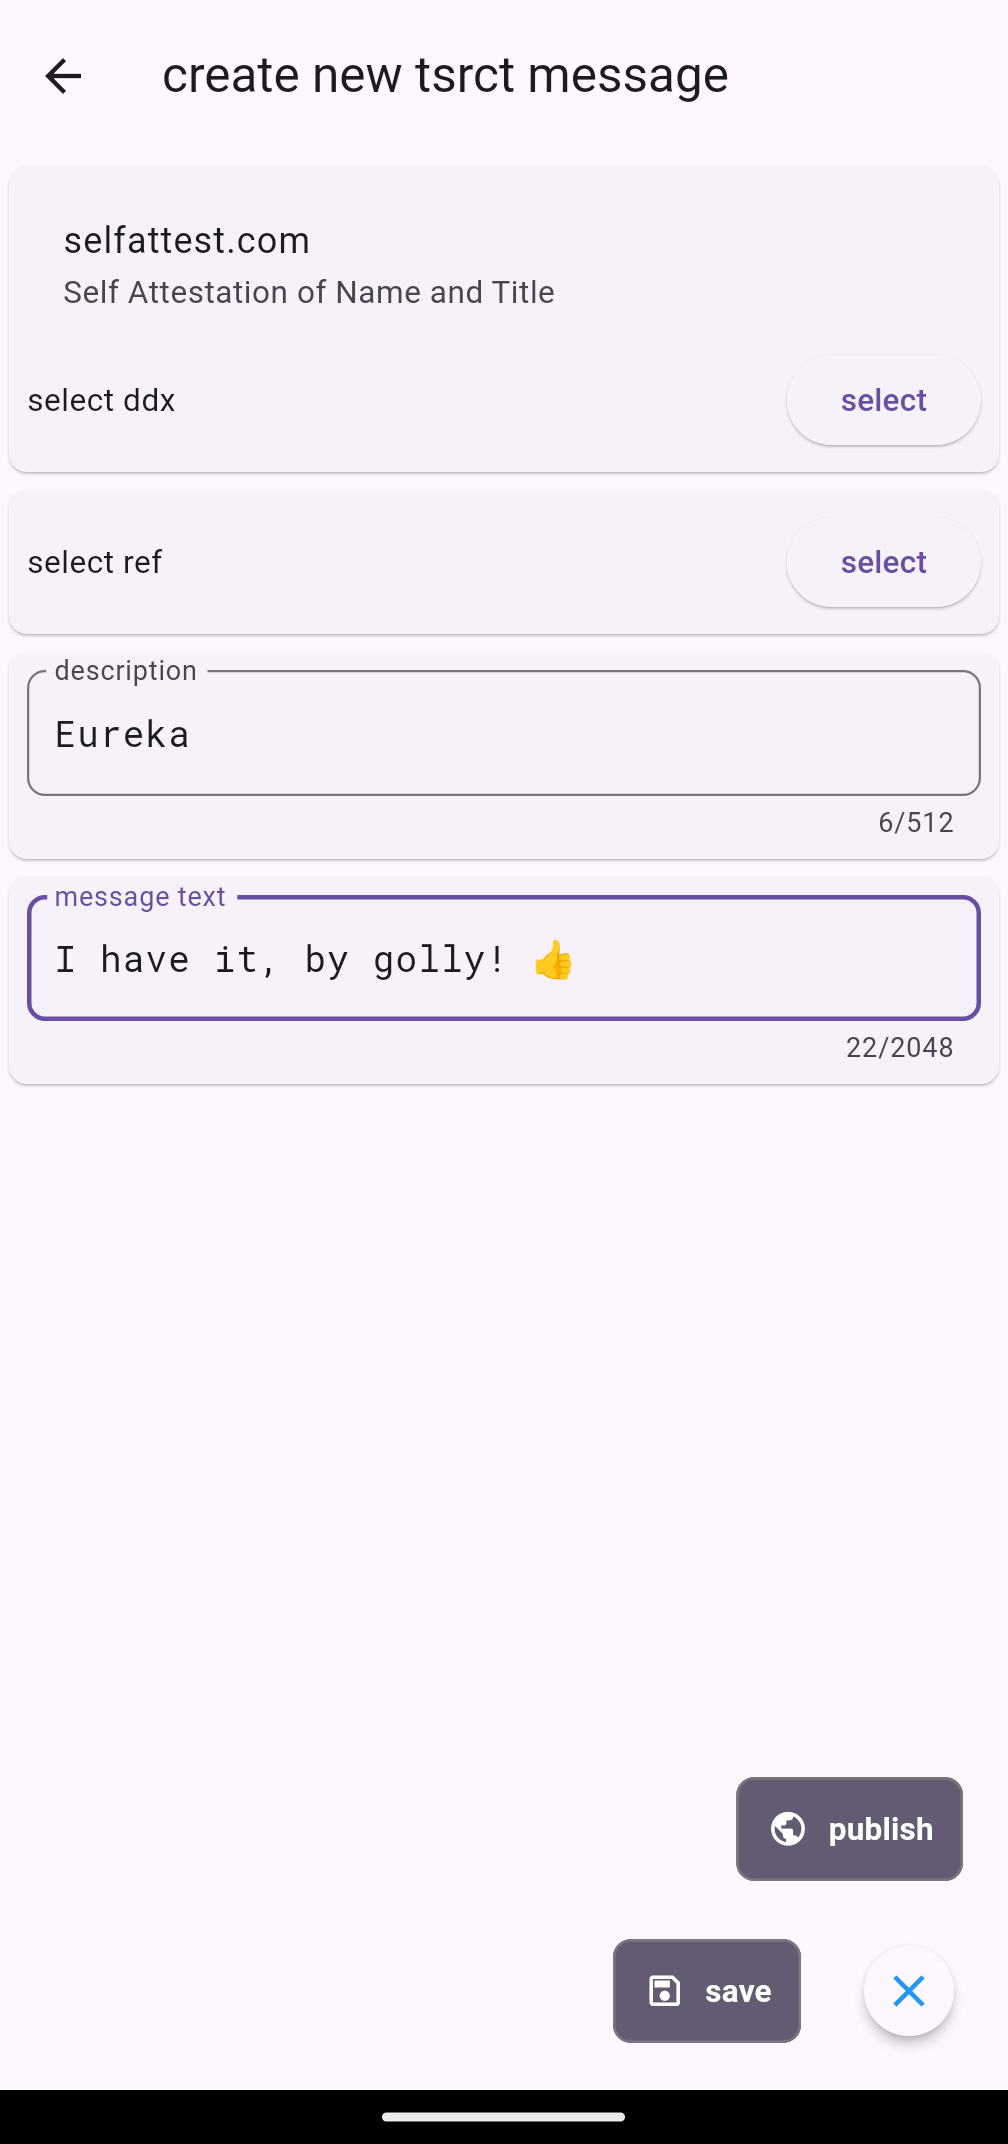
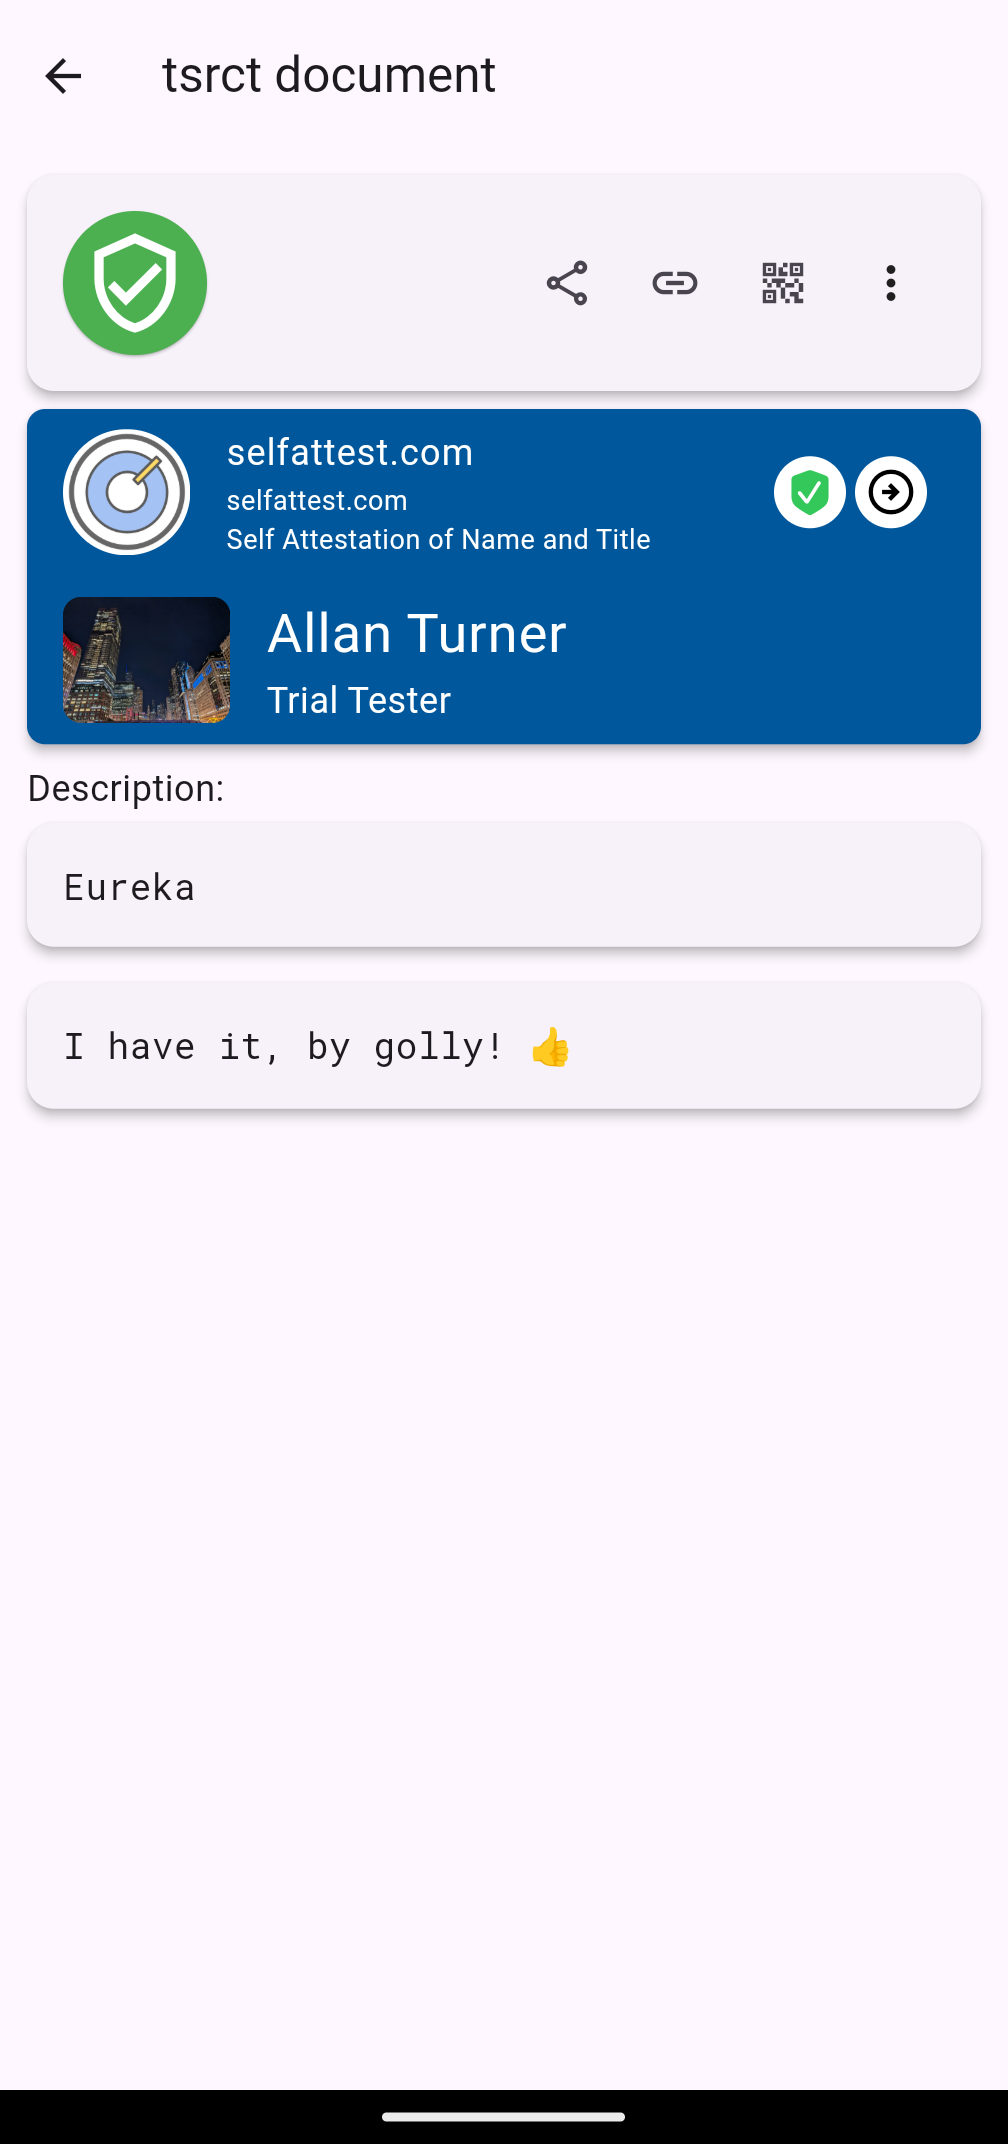
When done, tap the Three Dot icon at the bottom of the screen and tap publish to create the post; this post is now publicly visible and can be shared by copying the url by tapping the link button ![]() :
:
Likewise, you can select Photo tdoc or Document tdoc to create messages that contain images from your gallery or pdf/other documents from your mobile device folders.